Manage Events
Here we show you how to manage events.
Events Explained
The Unypan club app supports both single events and recurring event series that can repeat daily, weekly, or monthly.
An event consists of a title, a location, a description, and the date and time when it takes place. If the event is an all-day event, it only has a start and end date, without specific times.
An event can define a recurrence. If a recurrence is set, the event becomes an event series, consisting of multiple single events. Members invited to an event series can respond individually to each event depending on their availability.
Optionally, an event can define a reply deadline. This is the latest time members can respond to the event. Each single event in a series has its own deadline, which is set relative to its individual start time.
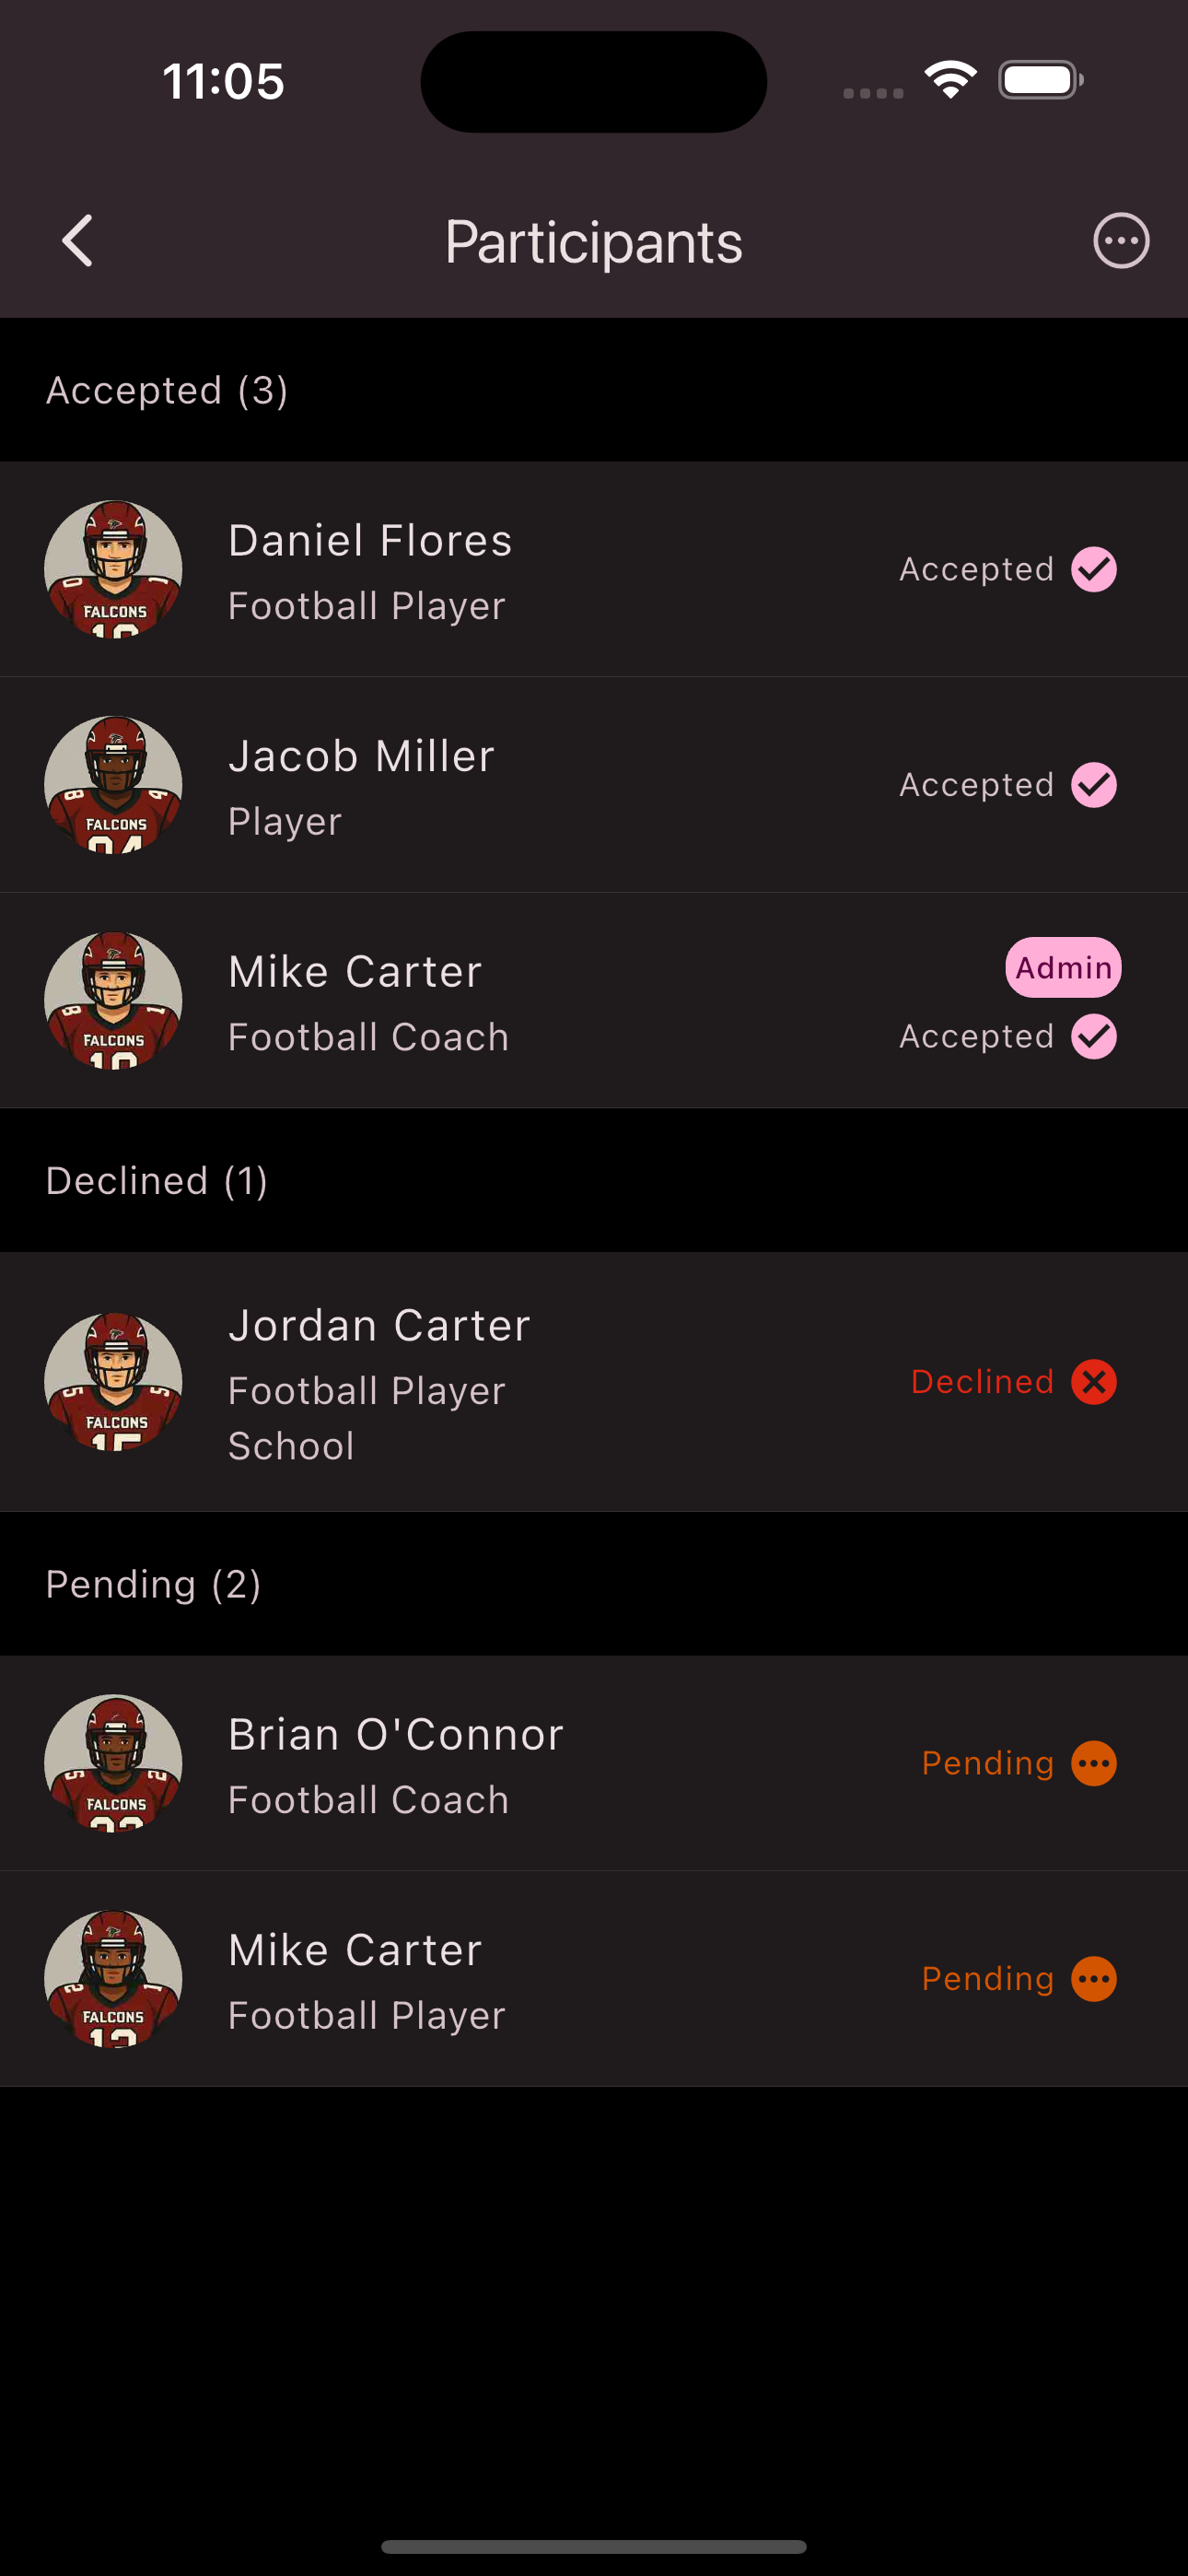
Events include invited participants. If participants are invited to a single event, it’s called an invitation. If participants are invited to an event series, they are considered added to the series. Members can later choose to leave the series.
Events are assigned to categories, such as: Training, Tournament, Competition, or Organizational.
Events can be assigned to groups, allowing members to filter and view only the events relevant to their group on the calendar screen.
The initial attendance status of invited members is set to Pending
by default. Members must explicitly reply. With the Auto Accept
option, the initial status is set to Accepted
. This is useful if most members are expected to attend anyway.
If an event should only be visible to invited members, it can be marked as Private
.
Events can optionally include Carpooling
. In this case, carpooling can be activated for the event.
Events can have a maximum number of participants, with additional members automatically added to a waiting list once the limit is reached.
Members can give feedback on whether they will attend the event. If declining, they may optionally provide a reason, which is visible only to group leaders.
Group leaders also have the option to Accept executing
, indicating they are taking a leading or responsible role during the event.
Create Event
Requirements: To create events, you must have one of the following roles: Admin
, Group Leader
, Organization Manager
, or Event Manager
.
Follow these steps to create an event:
-
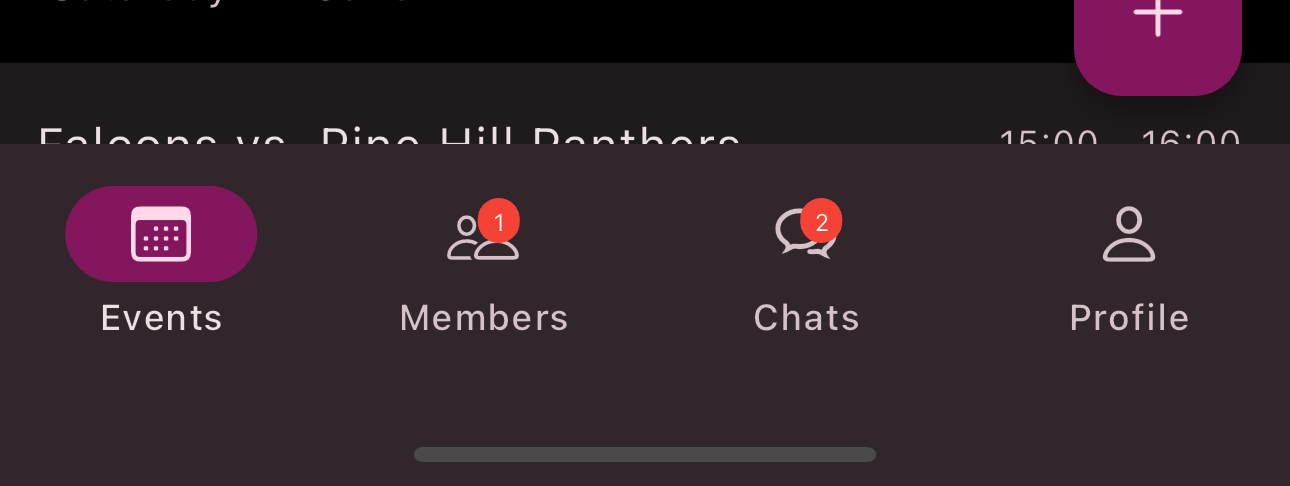
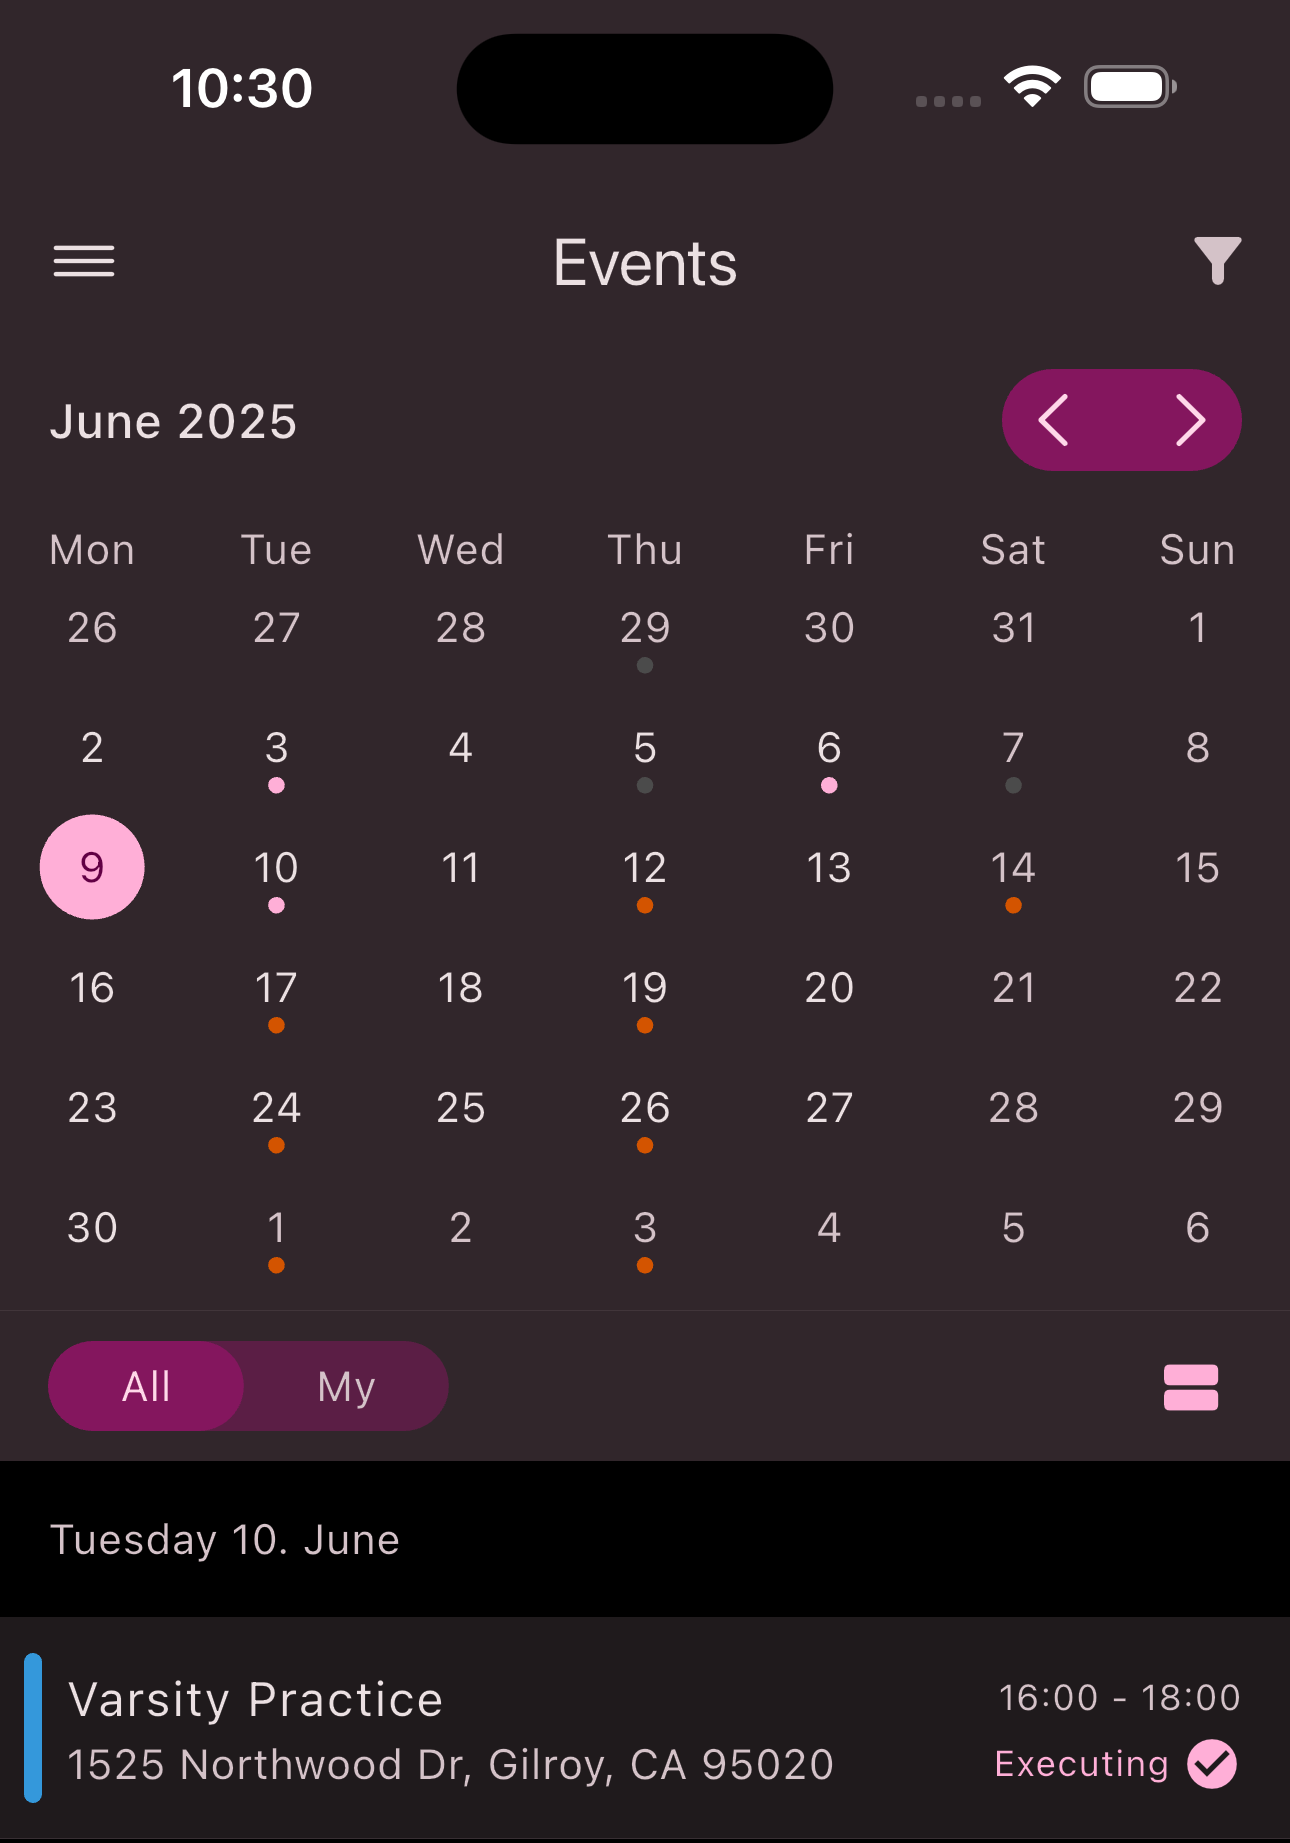
Navigate to the overview of all events via the bottom navigation bar.
-
Select the desired date in the calendar.
-
Tap the
Plus button
in the bottom-right corner. -
Fill in the form and set your desired options. Refer to Events Explained.
-
Tap
Save
.
Congratulations! You’ve created an event.
Edit Event
Follow these steps to edit an event:
-
Navigate to the overview of all events via the bottom navigation bar.
-
Select the date in the calendar for the event you want to edit.
-
Tap the
Event
.
-
Tap the
Edit
button in the top-right corner.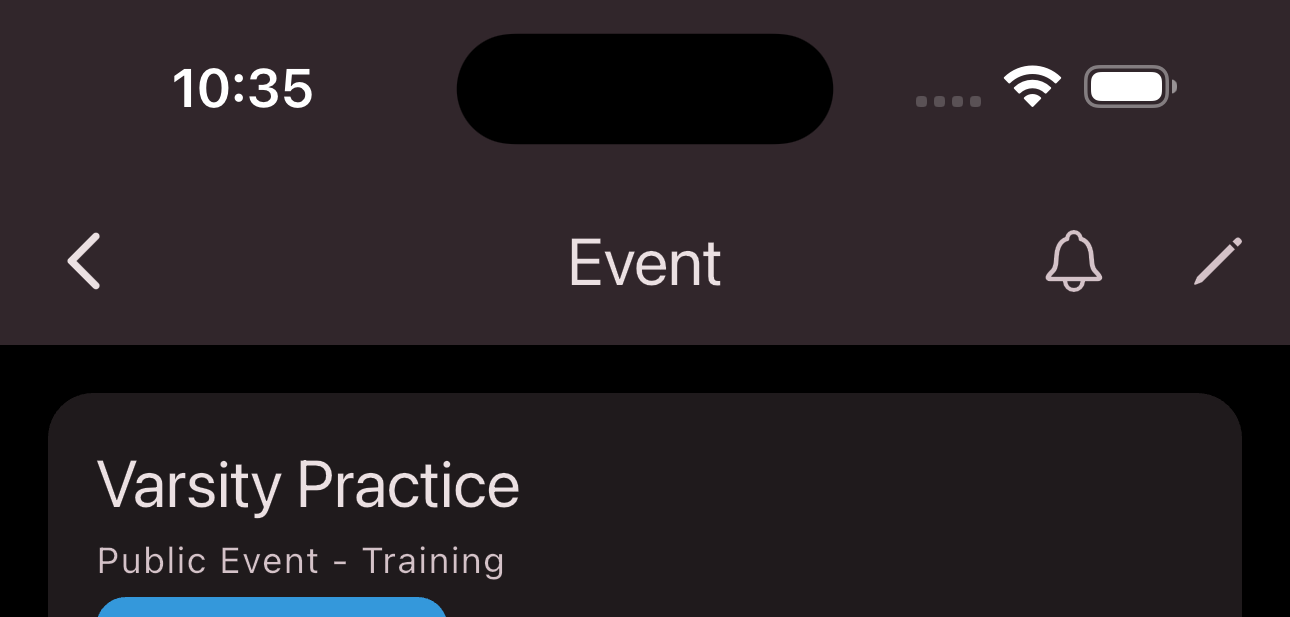
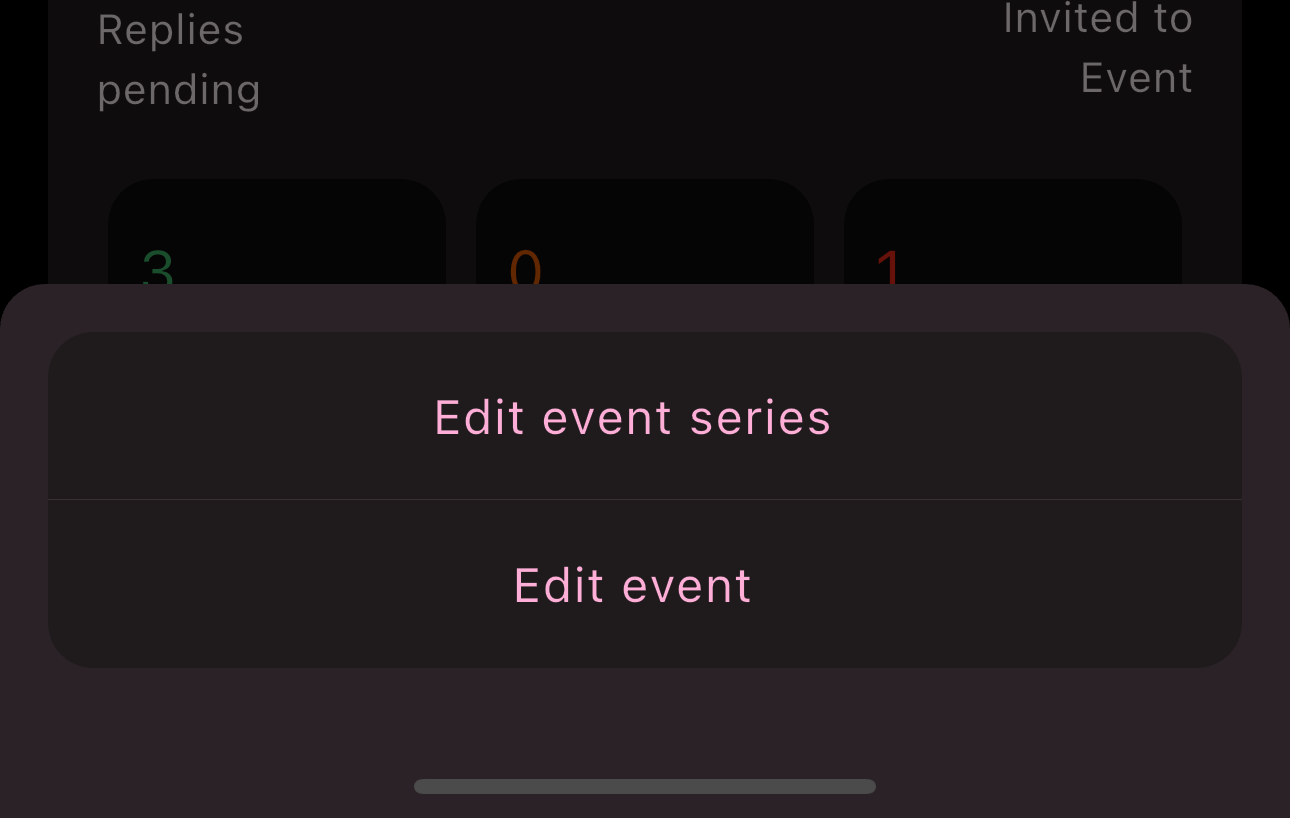
-
If it’s a recurring event, choose whether you want to edit the entire series or just this single event.
-
Use the form to make your changes.
-
Tap
Save
.
Congratulations! You’ve edited an event or event series.
Reply to an Event
Have you received an invitation to an event or event series? Follow these steps to reply:
-
Open the event to which you want to respond.
-
Tap the
reply
button.
-
Select your participation status. The
Accept executing
option is only available to group leaders.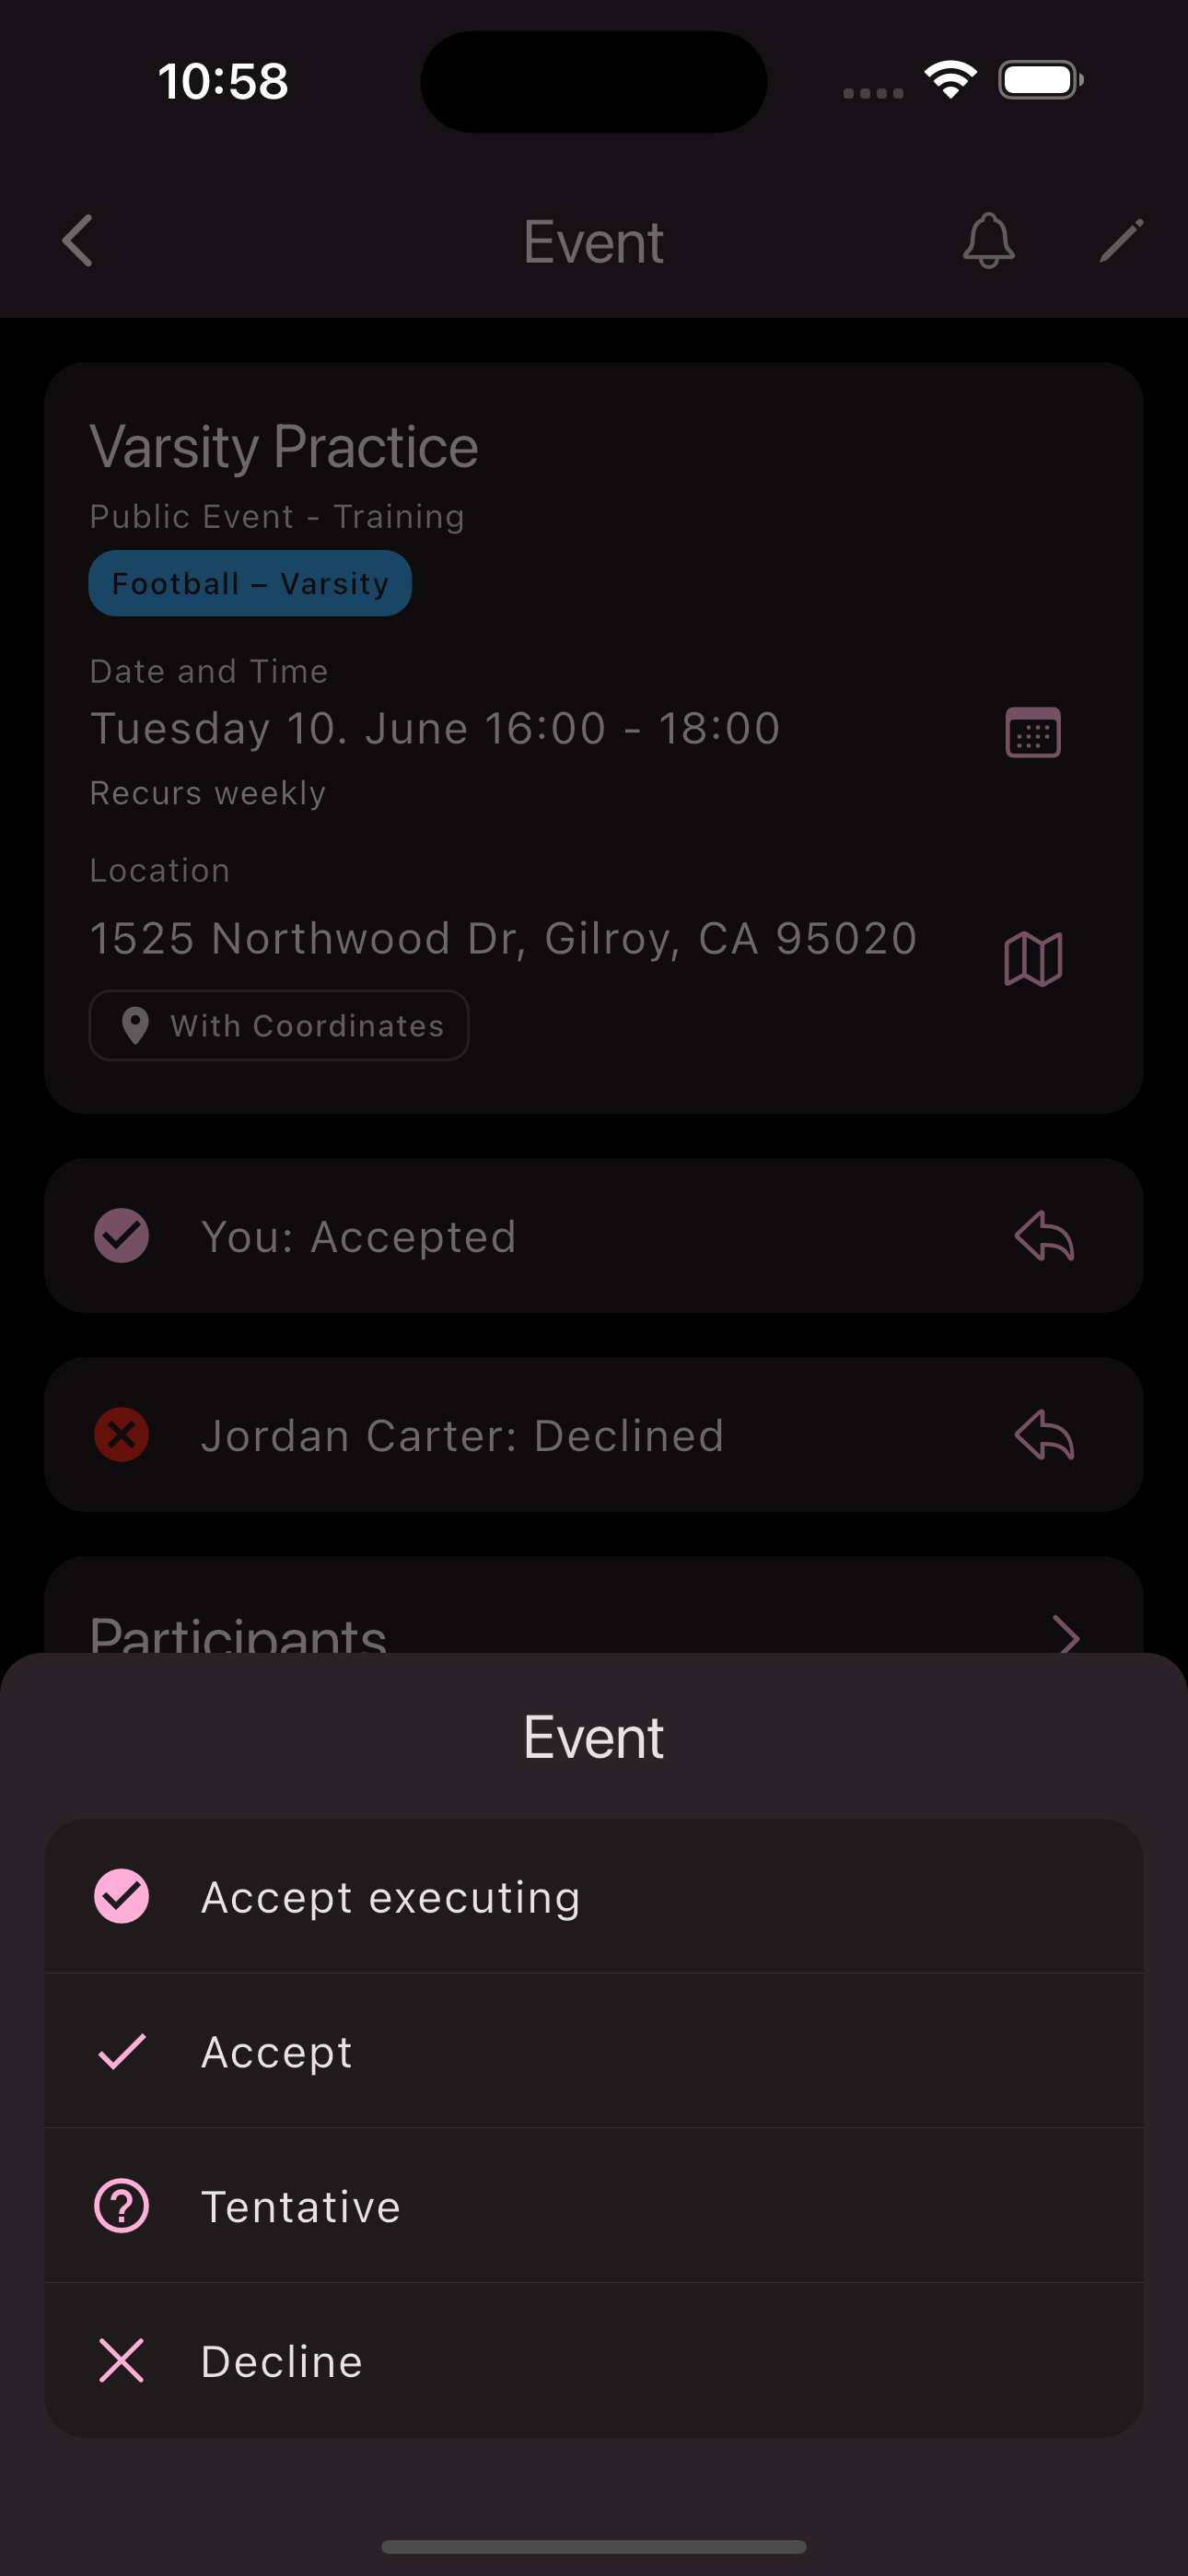
-
If you choose
Decline
, you may provide an optional reason for group leaders.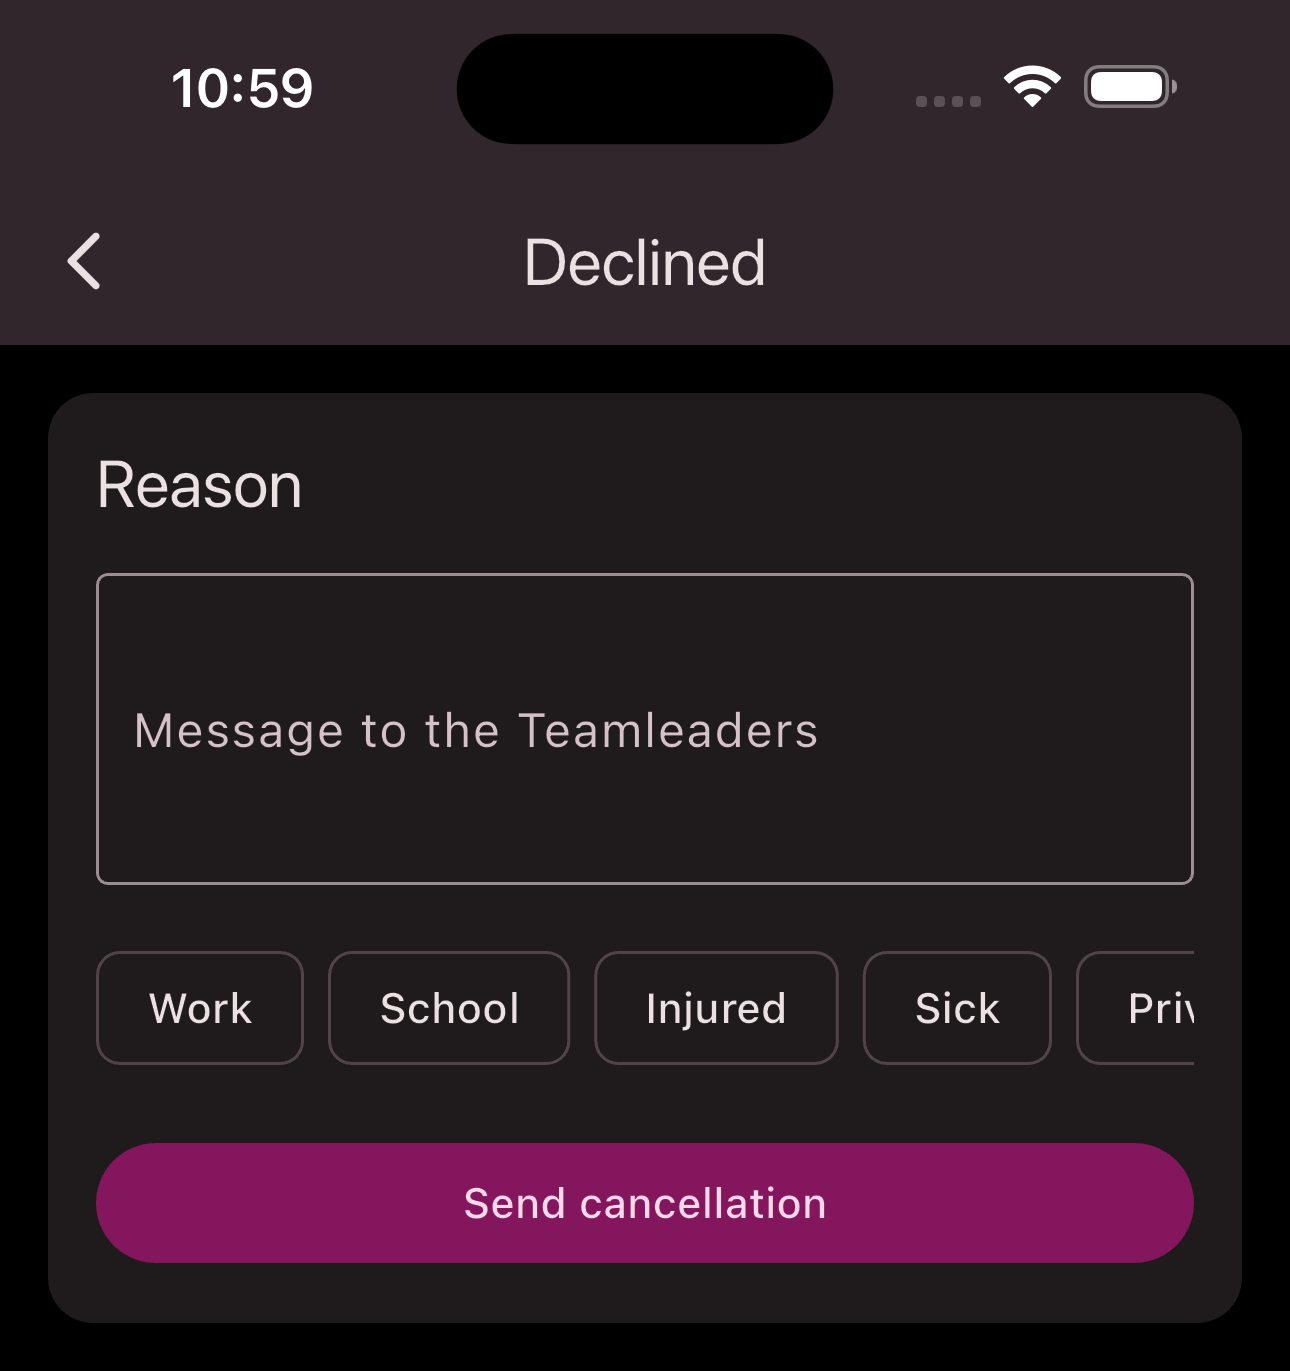
-
Tap
Decline
if you selected that option.
Congratulations! You’ve responded to an event.
Forward Event or Series
To invite more members to an event or series, follow these steps:
-
Navigate to the overview of all events via the bottom navigation bar.
-
Select the date in the calendar for the event you want to forward.
-
Tap the
Event
. -
Tap on
Participants
. -
Tap on the menu button at the top right corner.
-
Tap
Invite to event series
orInvite to event
depending on whether you want to invite members to one event only or to the whole series.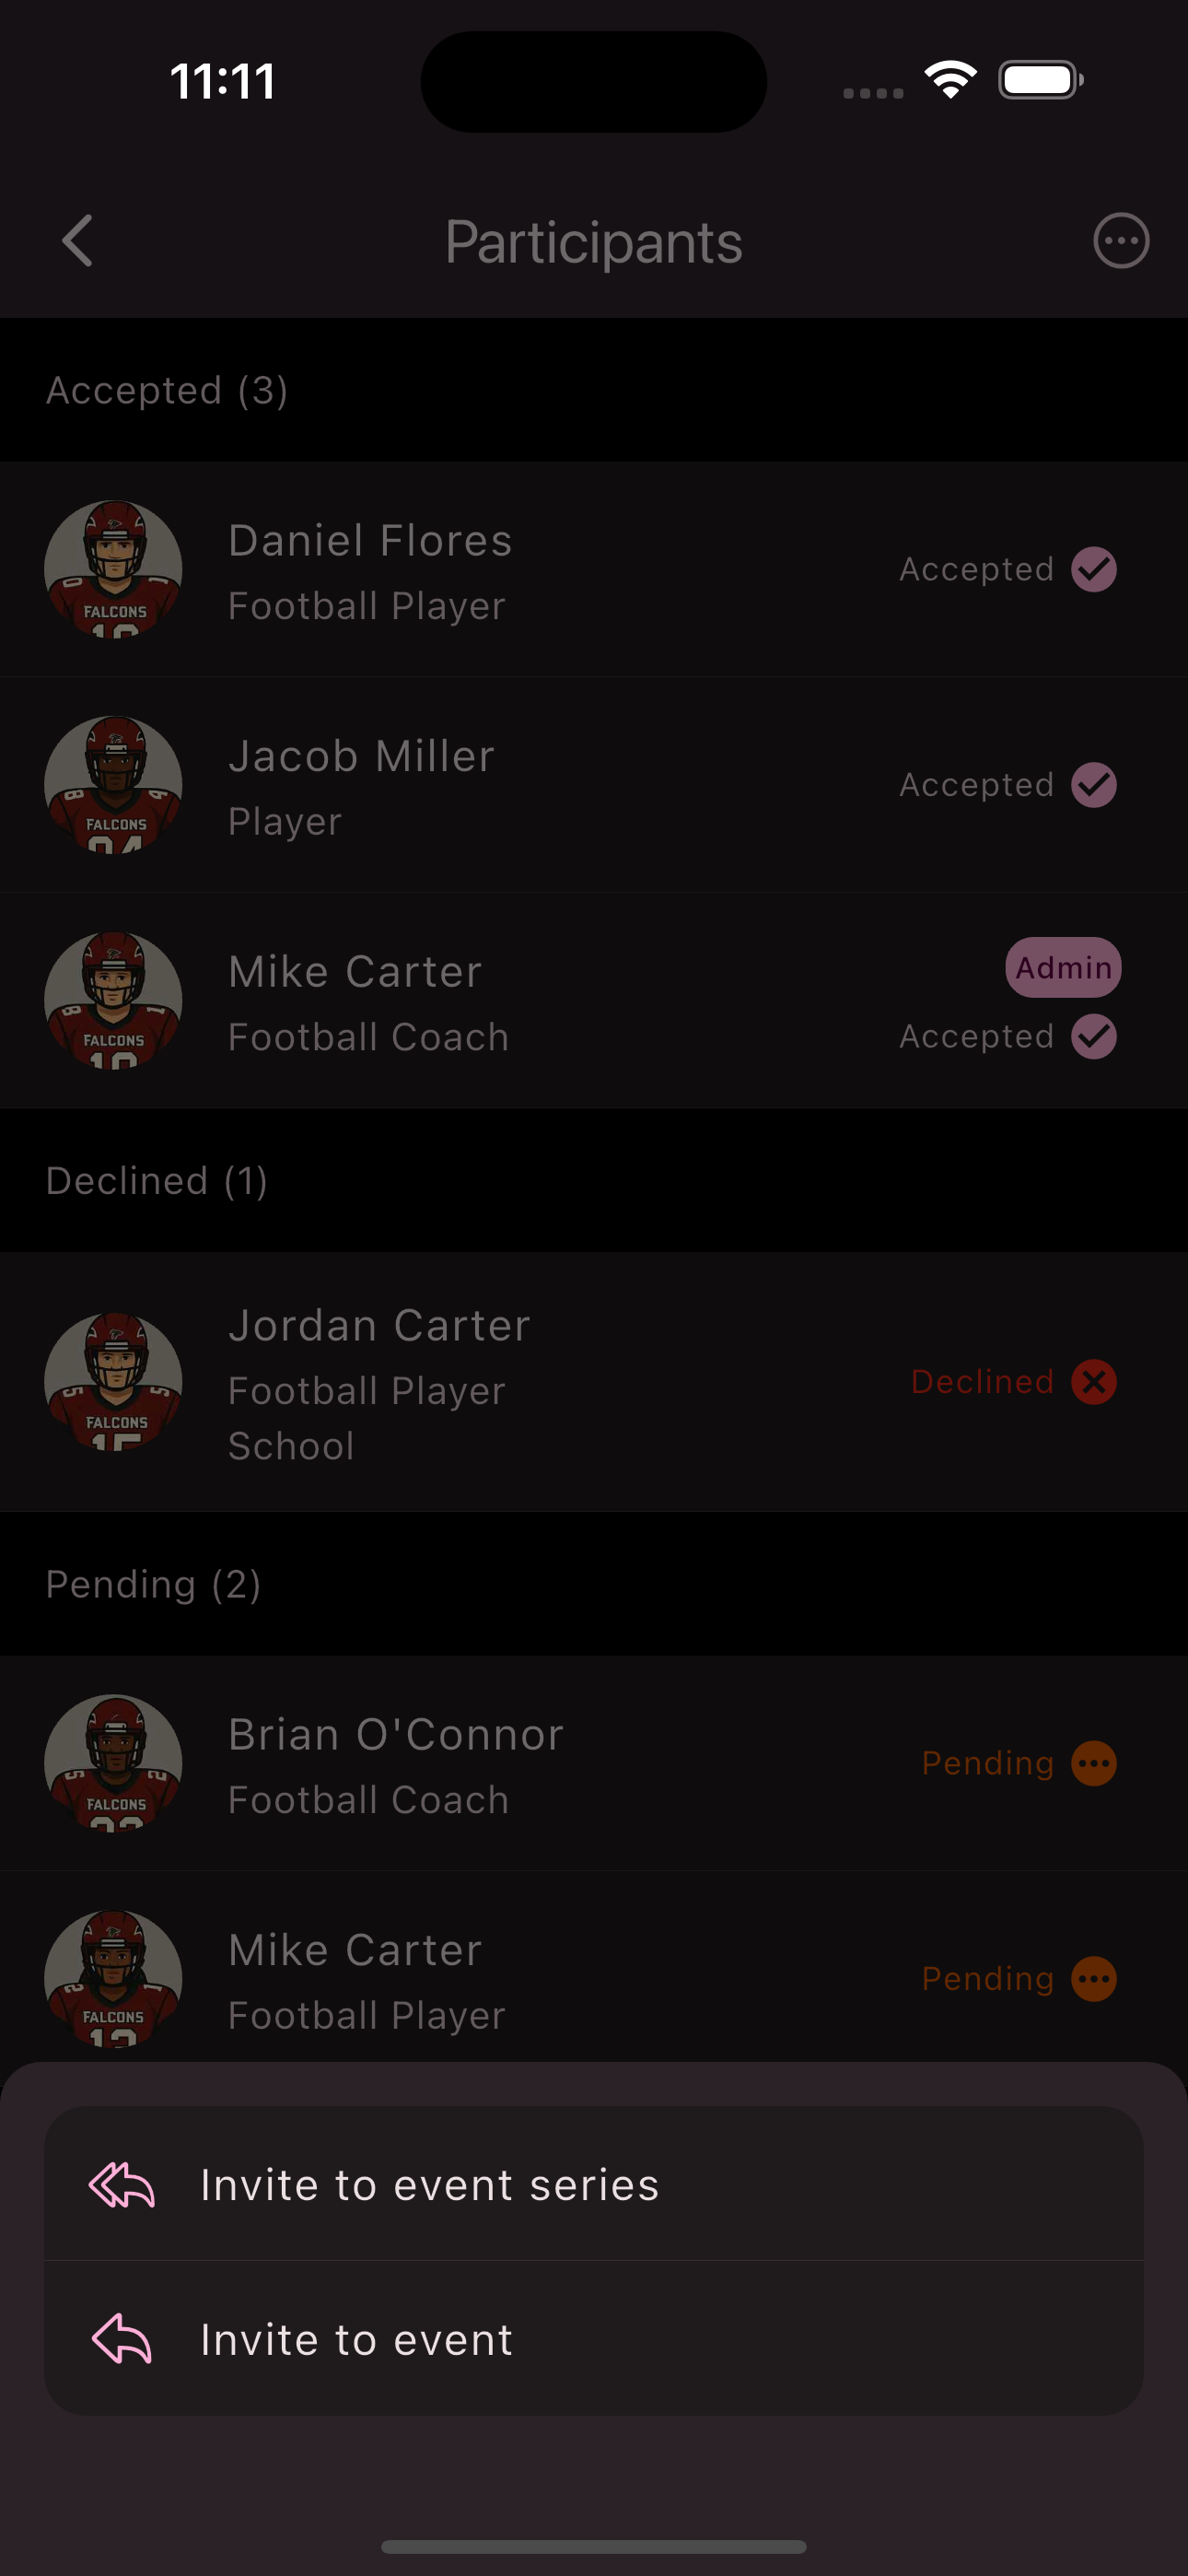
-
Select the members you want to forward the event to.
-
Tap
Forward
.
Congratulations! You’ve forwarded an event or event series.
Cancel Event
To cancel an event or entire series, follow these steps:
-
Navigate to the overview of all events via the bottom navigation bar.
-
Select the date in the calendar for the event you want to cancel.
-
Tap the
Event
. -
Scroll to the bottom of the
Event view
. -
Tap
Cancel series
orCancel this event
depending on what you want to cancel.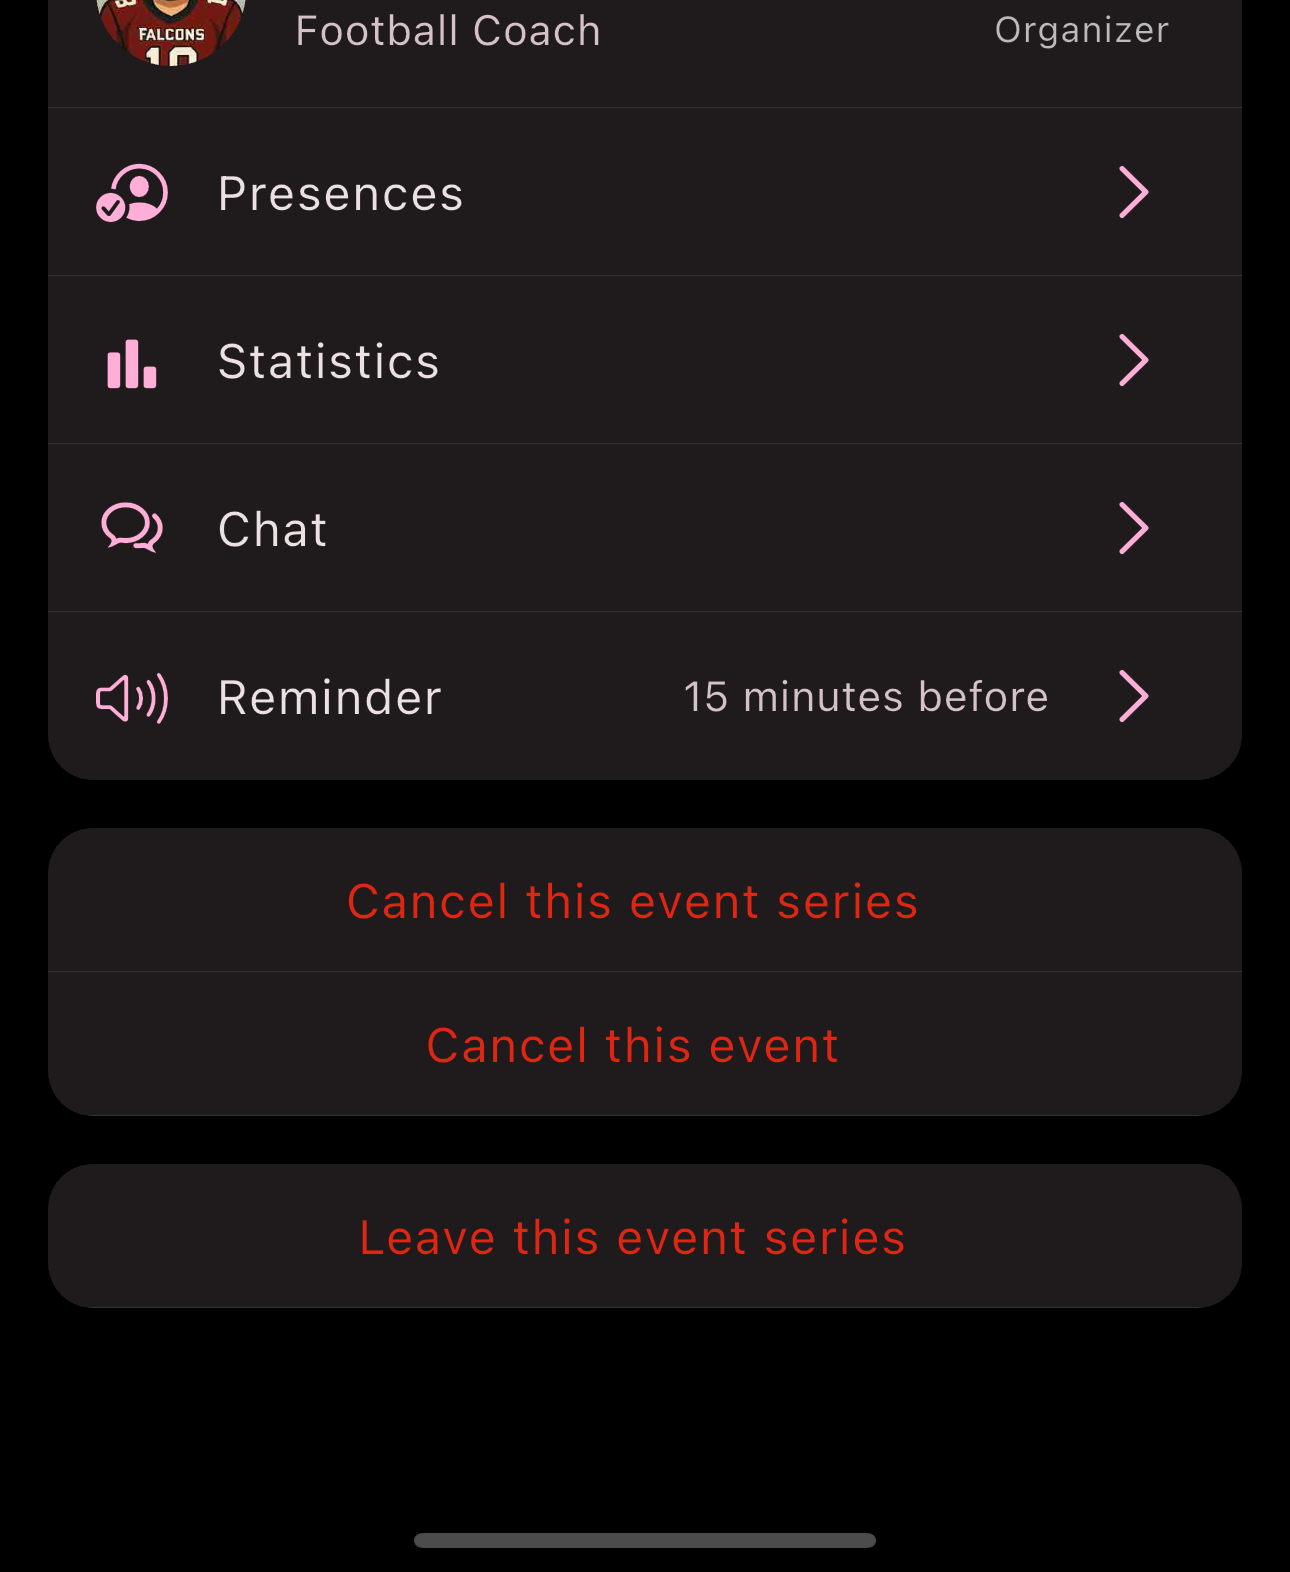
-
Optionally provide a reason for cancellation.
-
Tap cancel.
Congratulations! You’ve canceled an event or event series.
Leave Event Series
If an event series is no longer relevant for you and you no longer want to receive notifications about it, you can leave the series. Just follow these steps:
-
Navigate to the overview of all events via the bottom navigation bar.
-
Select the date in the calendar for the event whose series you want to leave.
-
Tap the
Event
. -
Scroll to the bottom of the
Event view
. -
Tap
Leave this event series
.
Congratulations! You’ve left the event series.
Is this page helpful?
What can we improve?
Thanks!
Is this page helpful?
What can we improve?
Thanks!