Create a group for the team
A group must be created for the team. Follow the steps:
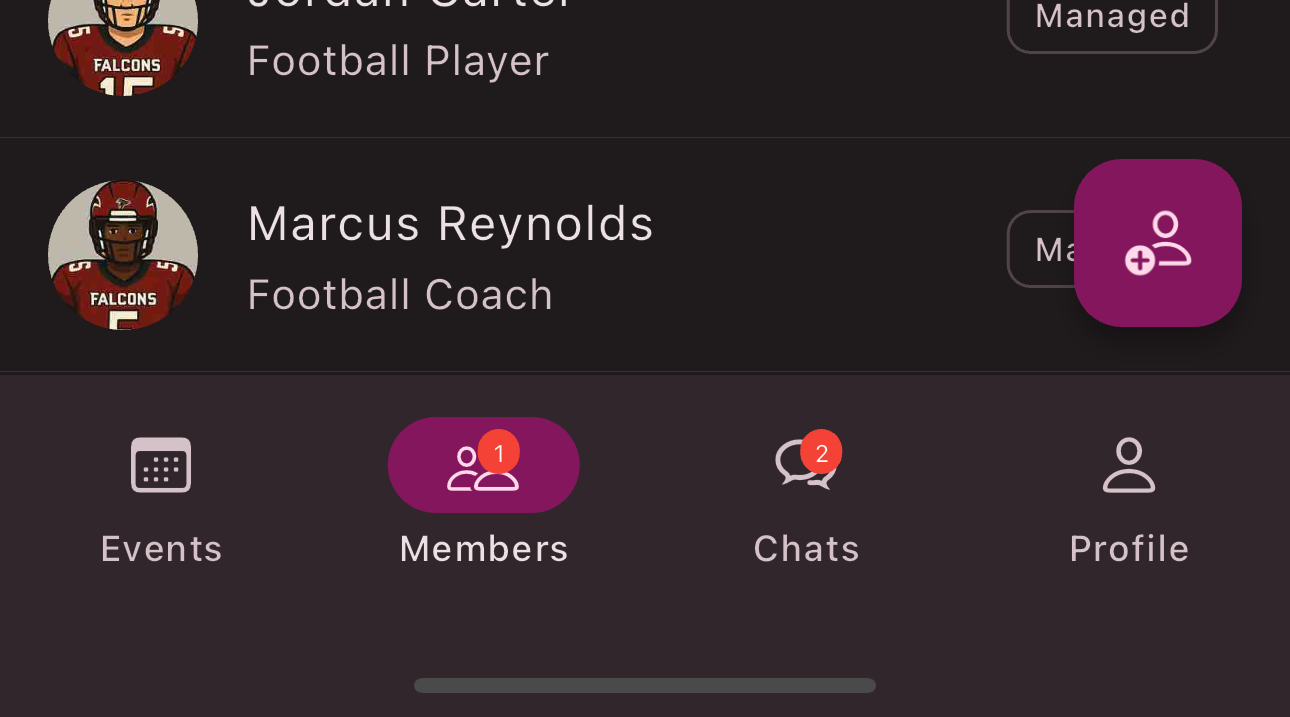
In the bottom navigation bar, you’ll find the Members
tab. If there are any join requests, this tab will show a counter with the number of pending requests.
Navigate to the overview of all members via the bottom navigation bar.
Switch from
Members
toGroups
in the top tab section.Tap the
Plus Button
in the bottom right corner.Enter a name for the group.
Tap
Create Group
.
Congratulations! You’ve created a group.

Invite coach
One or more coaches must now be added to the team. Follow the steps to give a coach the "Group Leader" role:
If you want to assign or remove roles for a member, follow these steps.
Requirements: To assign or remove roles, you need the Admin
or Organization Manager
role.
Navigate to the member overview using the bottom navigation bar.
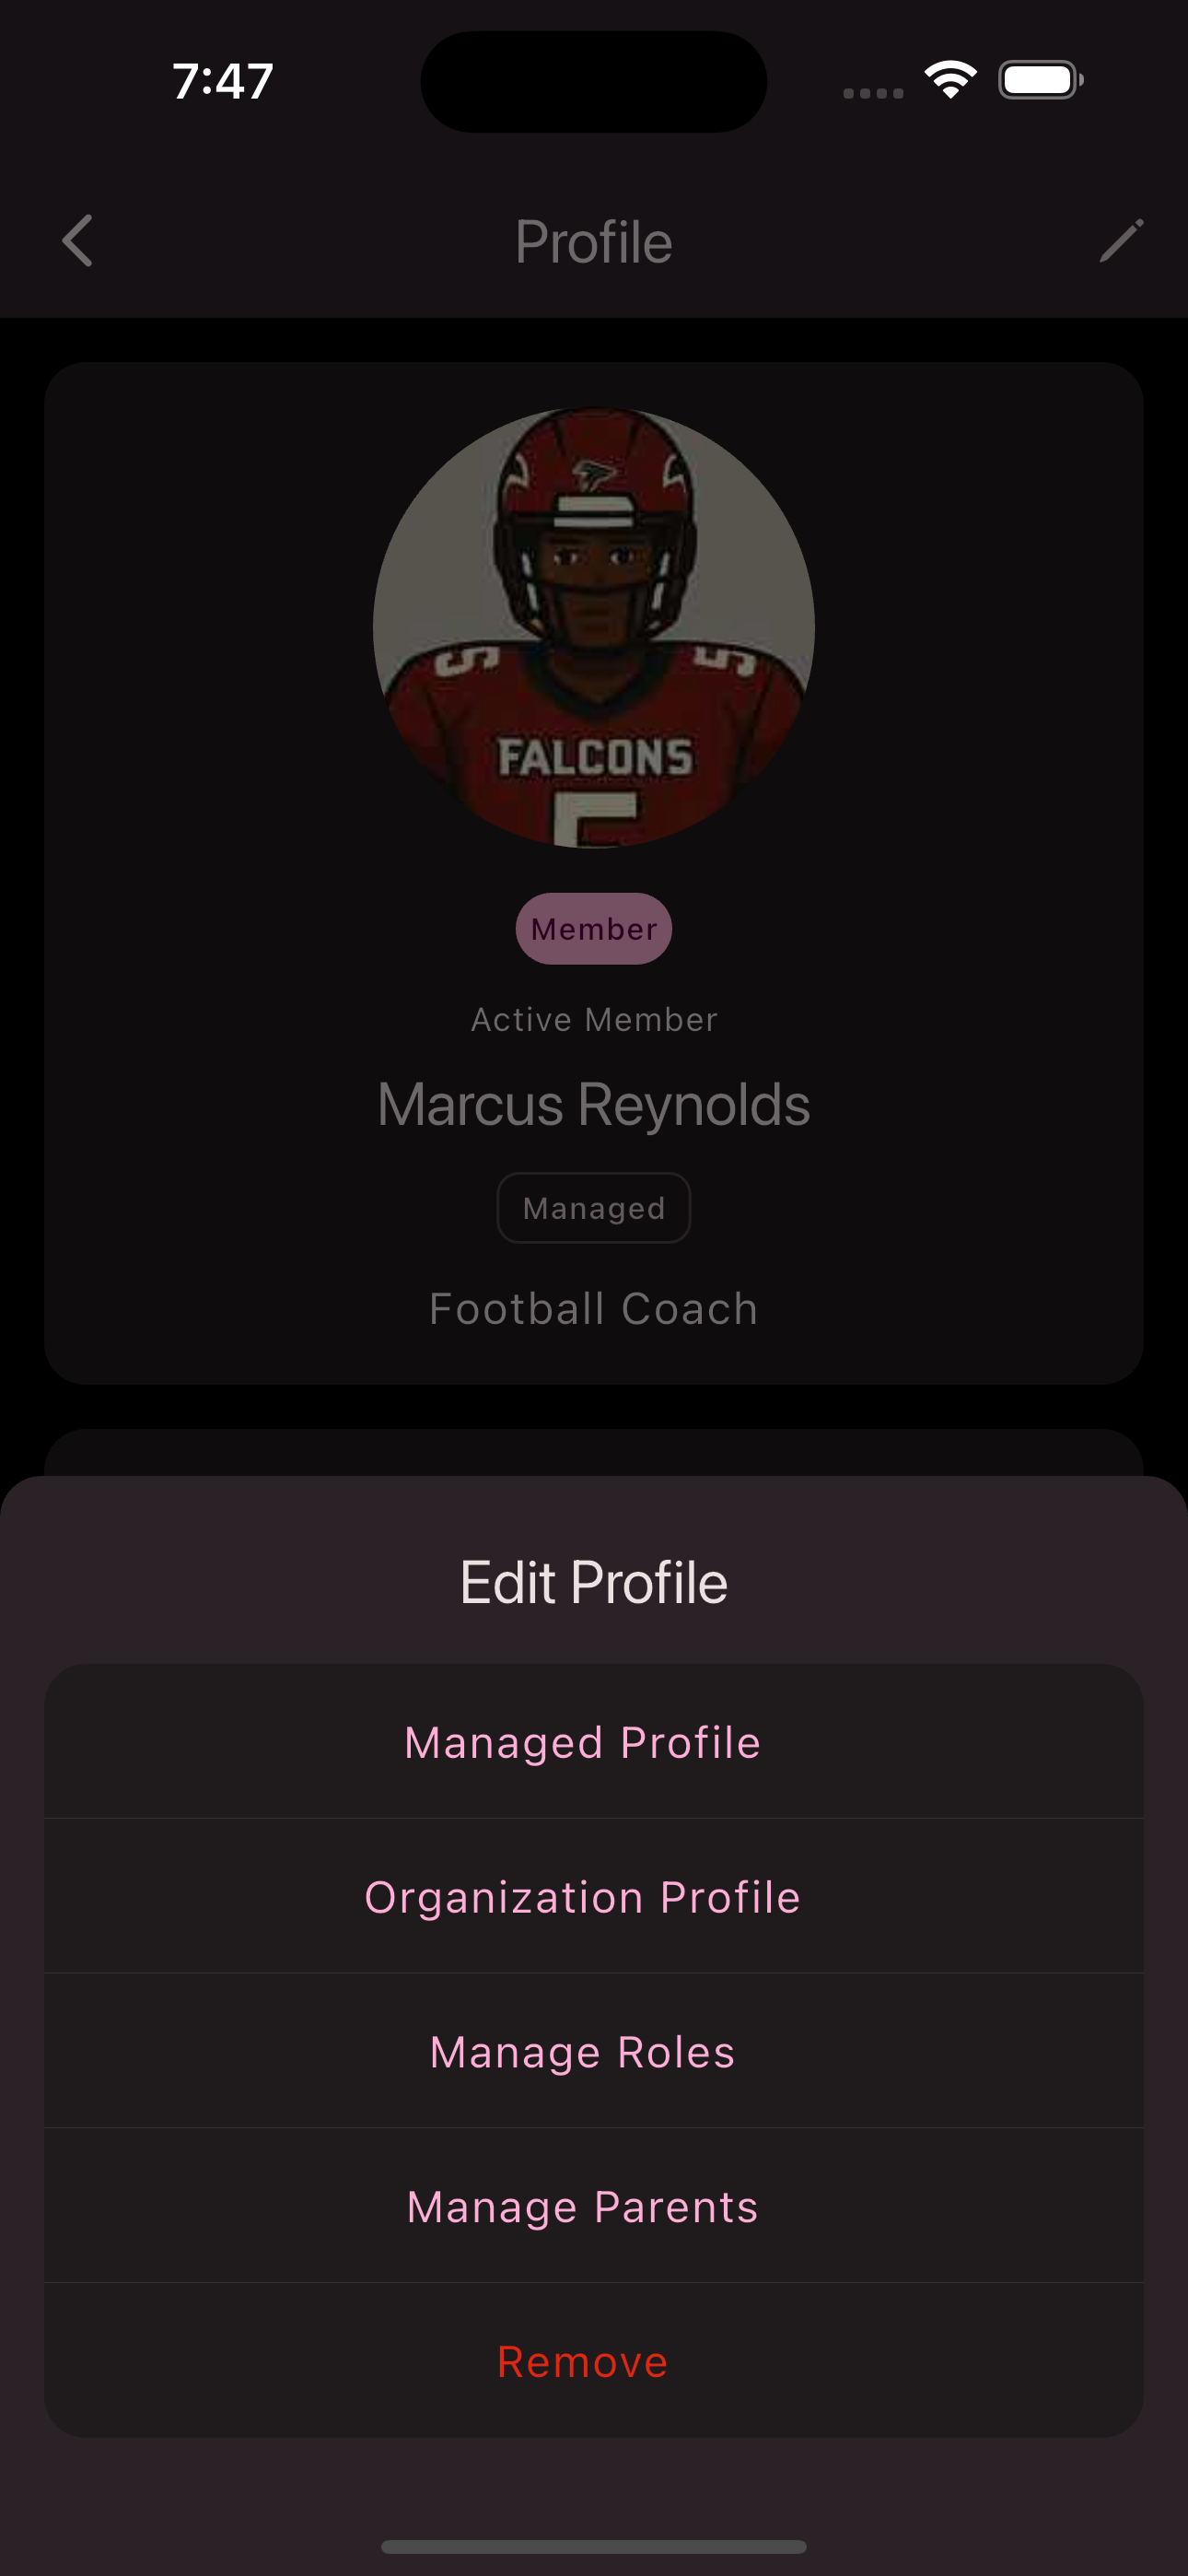
Tap the
Member
whose roles you want to modify.Tap the
Edit
button in the top right corner.Tap
Manage Roles
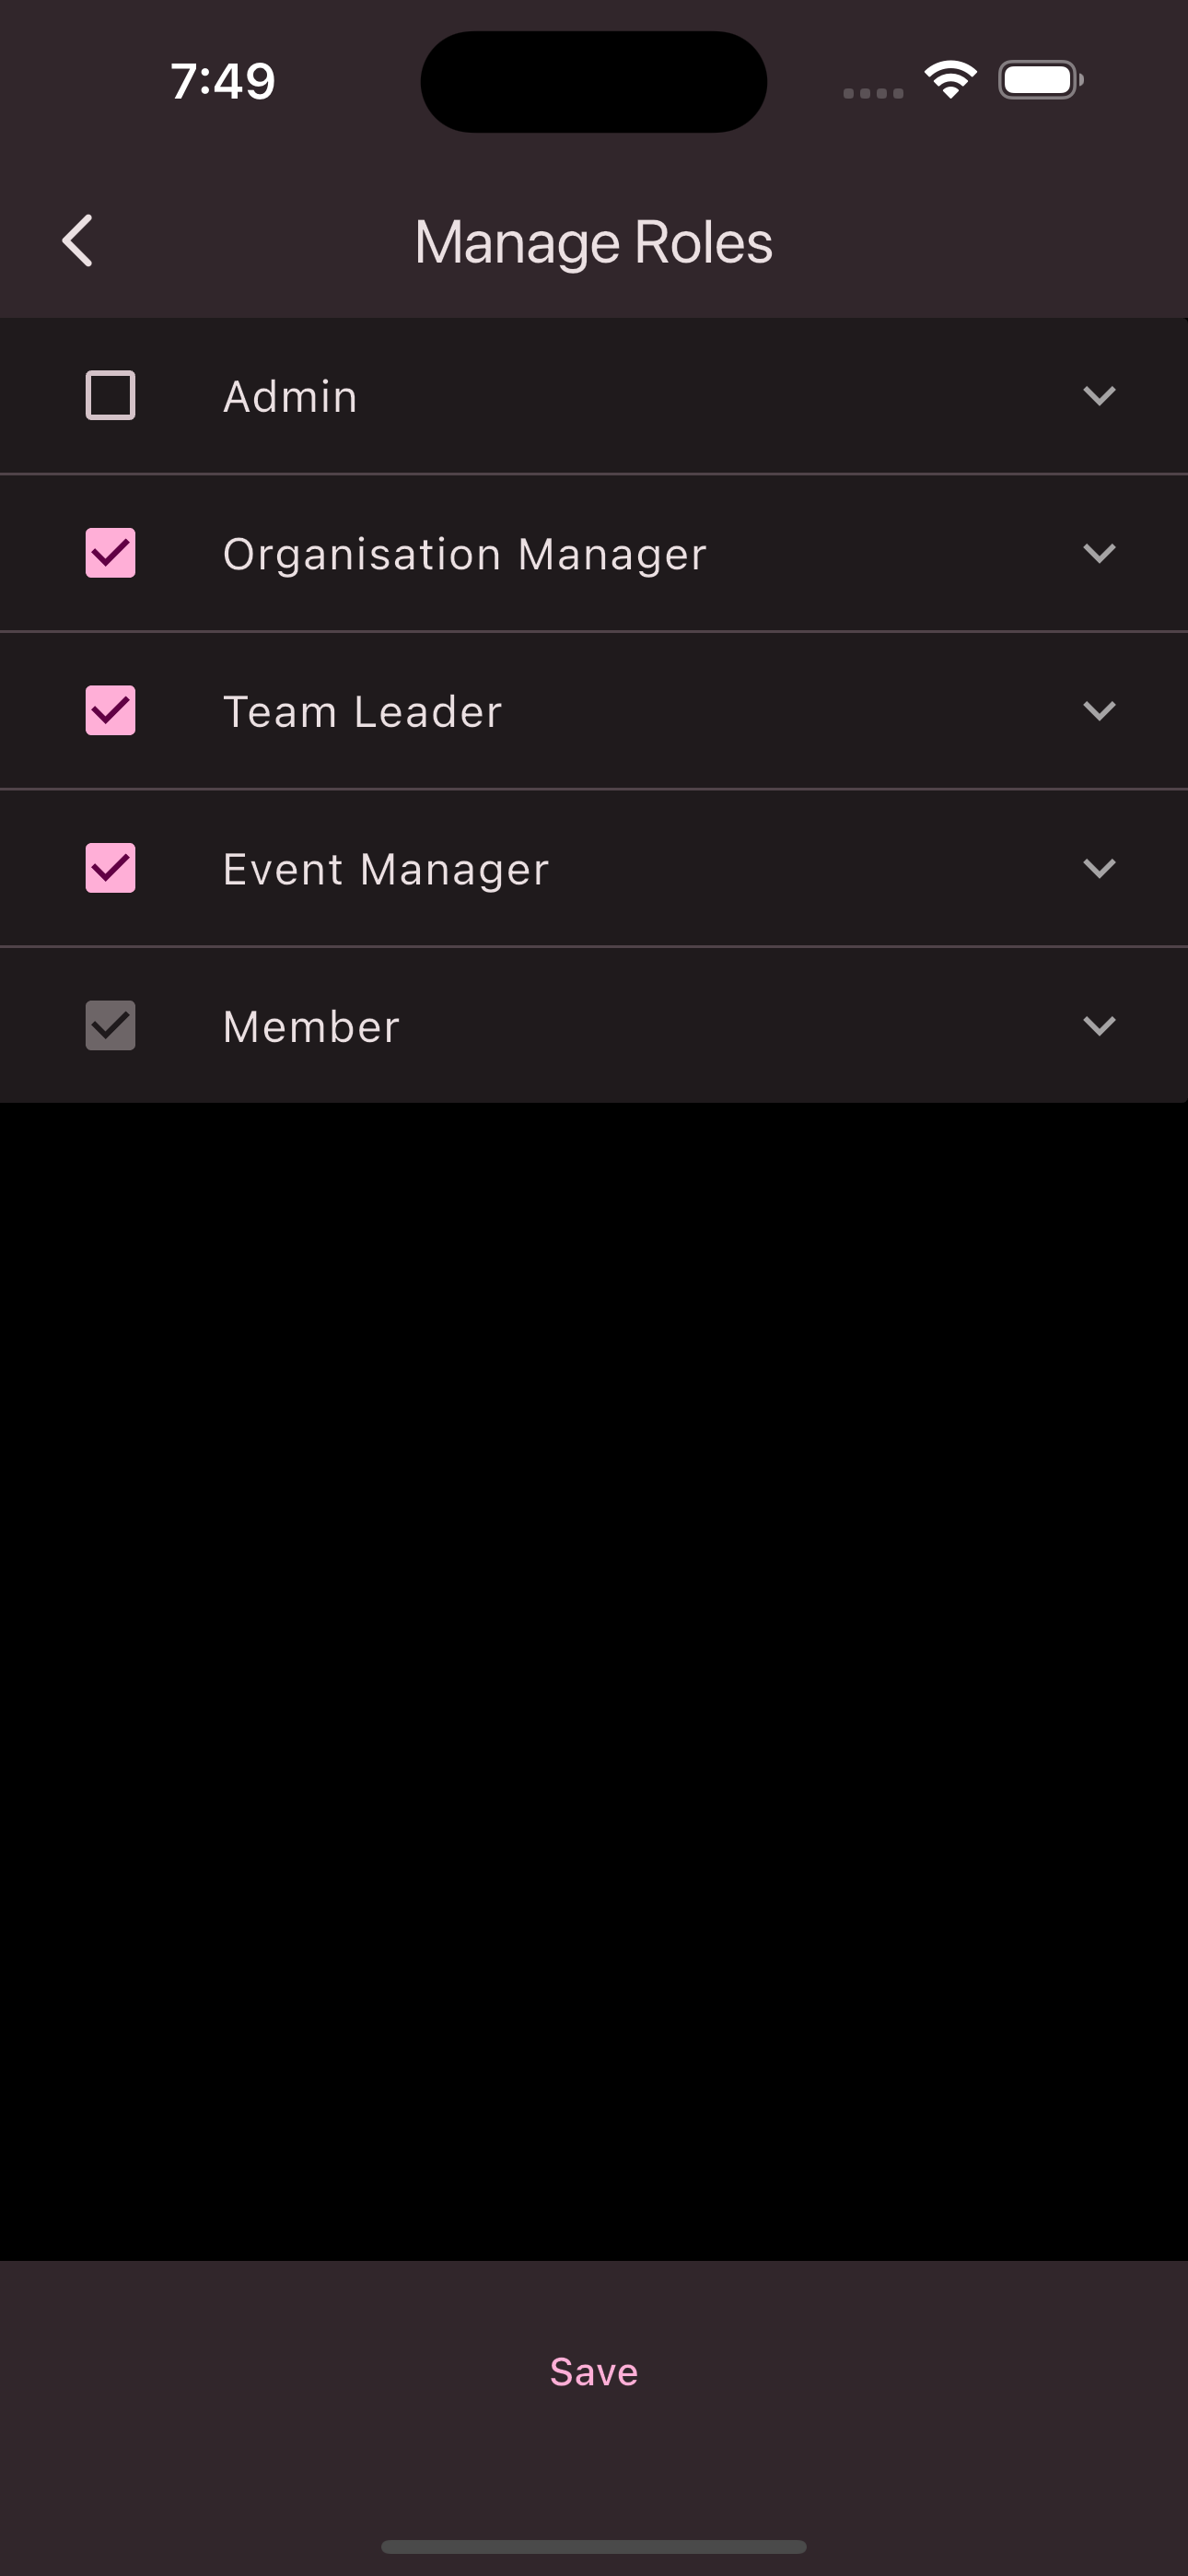
.Select the roles you want to assign and deselect the ones you want to remove.
Tap
Save
to apply your changes.
Note: It can take up to an hour for the role changes to take effect for the member. To speed up the process, the member can fully close and then reopen the Unypan app. It’s important that the app is completely closed and not just sent to the background.
Alternatively, the member can navigate to their club overview and reopen the club from there. This will refresh the session and apply the new roles. To access the club overview, open the side menu using the menu button in the top left corner. The menu item is called My Clubs
.
Congratulations! You have successfully managed a member’s roles.
Create player
Now the players of the team are added. Follow the steps to create the individual player profiles:
Follow these steps to add a managed member:
Go to the member overview via the bottom navigation bar.
Tap the
Invitations
button in the bottom right corner to open your invitations view.Tap the
Create managed member
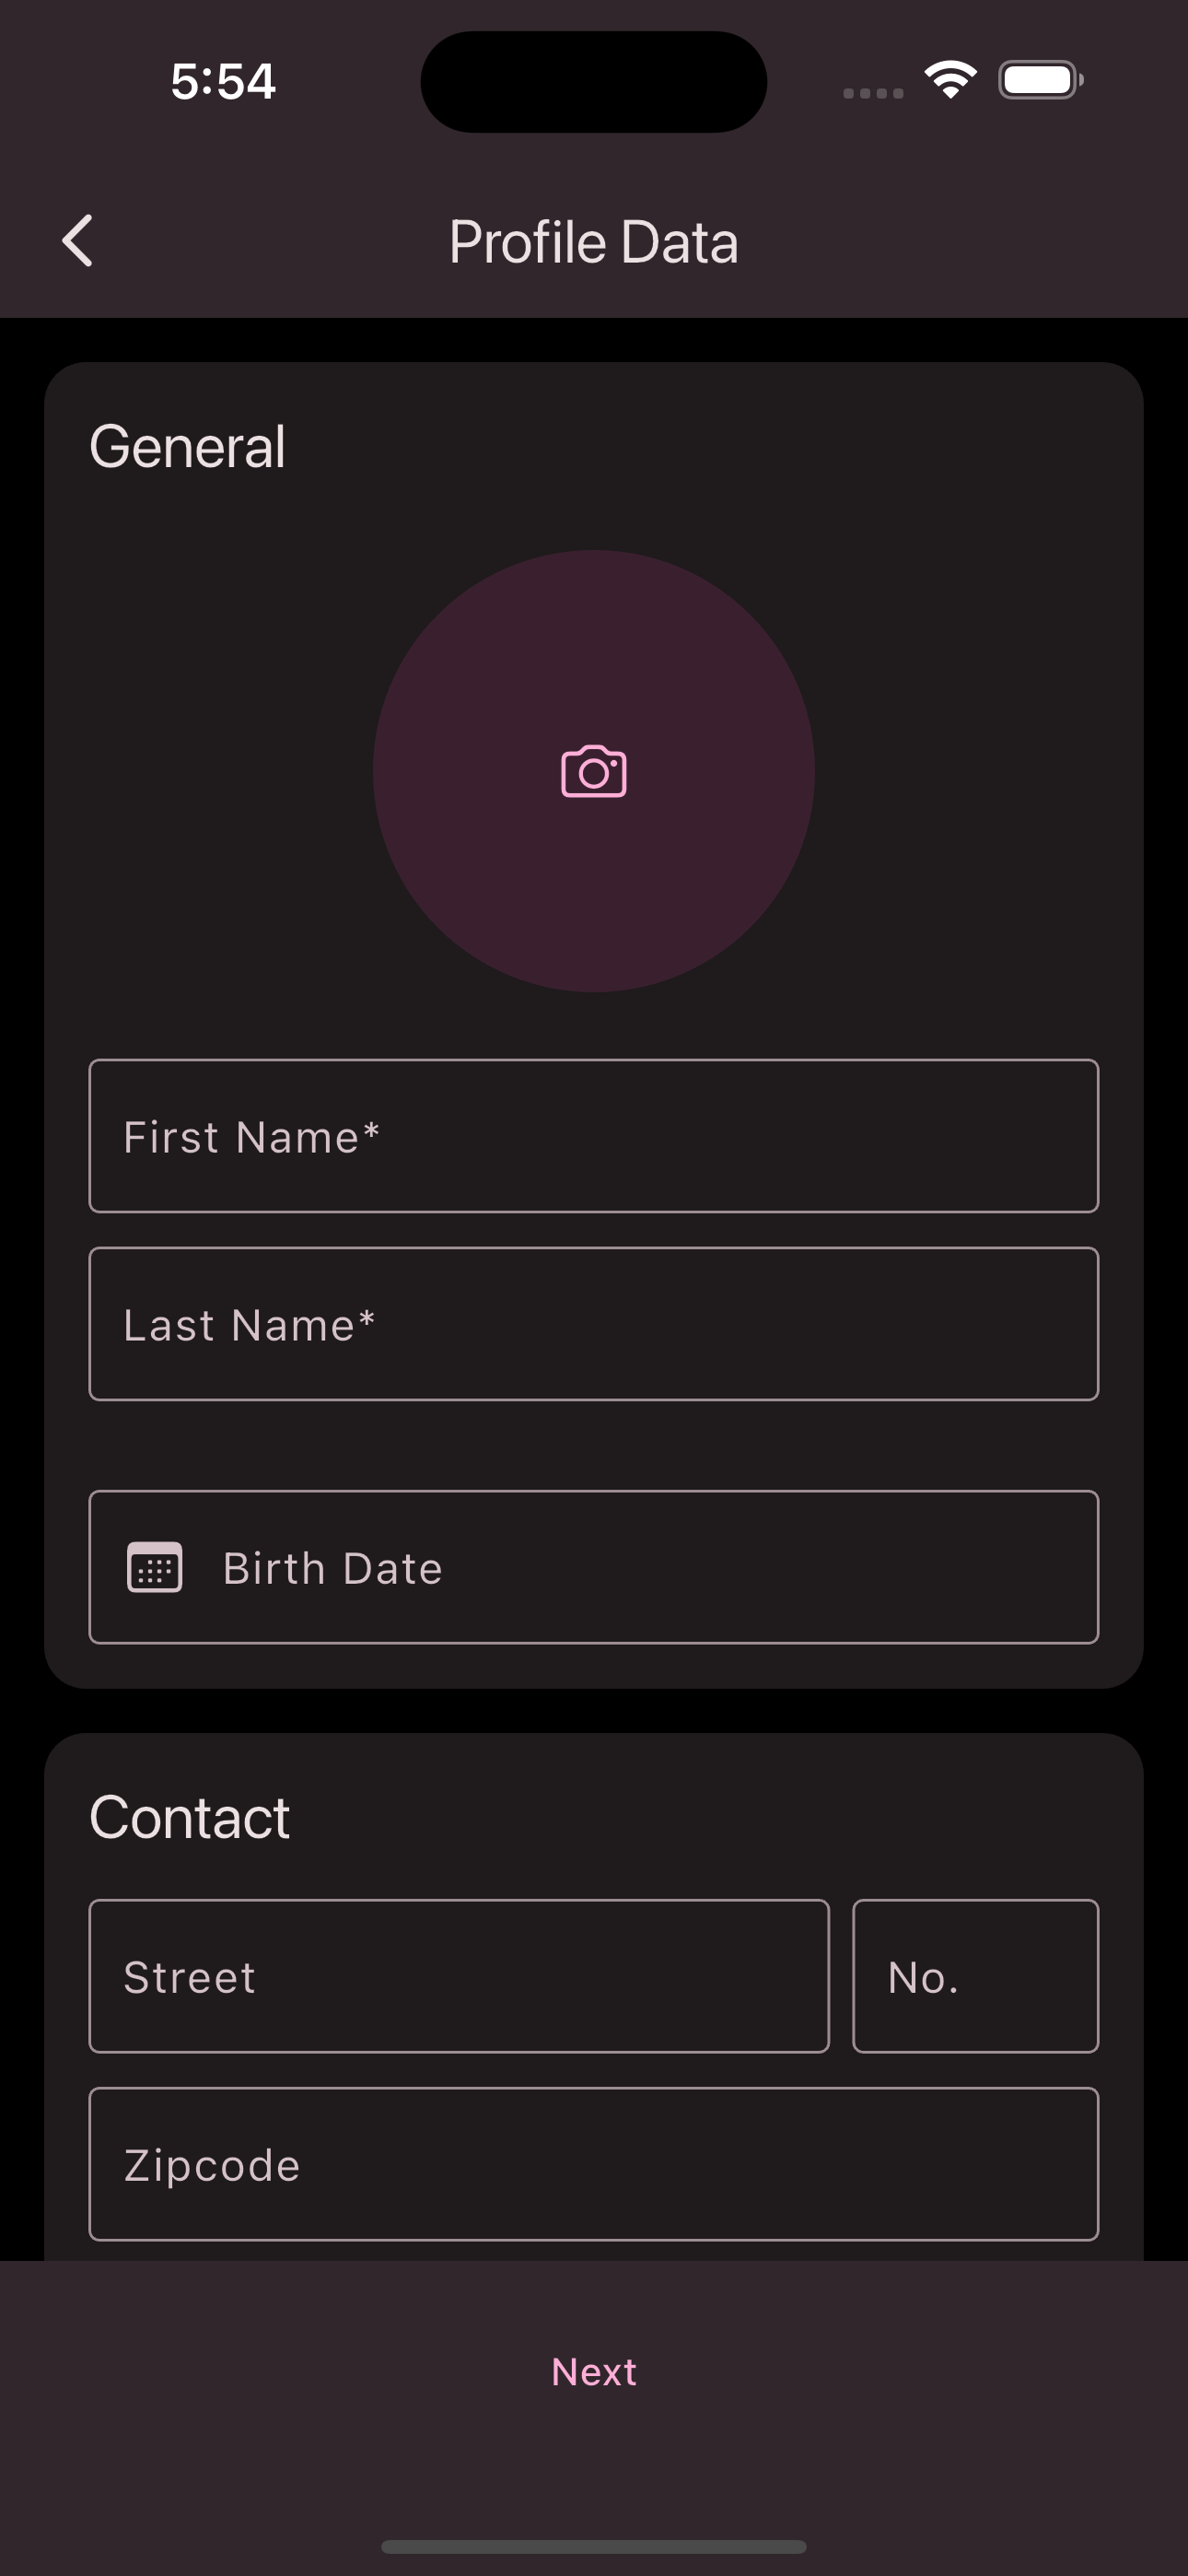
button.In the input form, you can now enter the first and last name. To make it easier to identify, you can also upload a picture of the member.
Tap the
Next
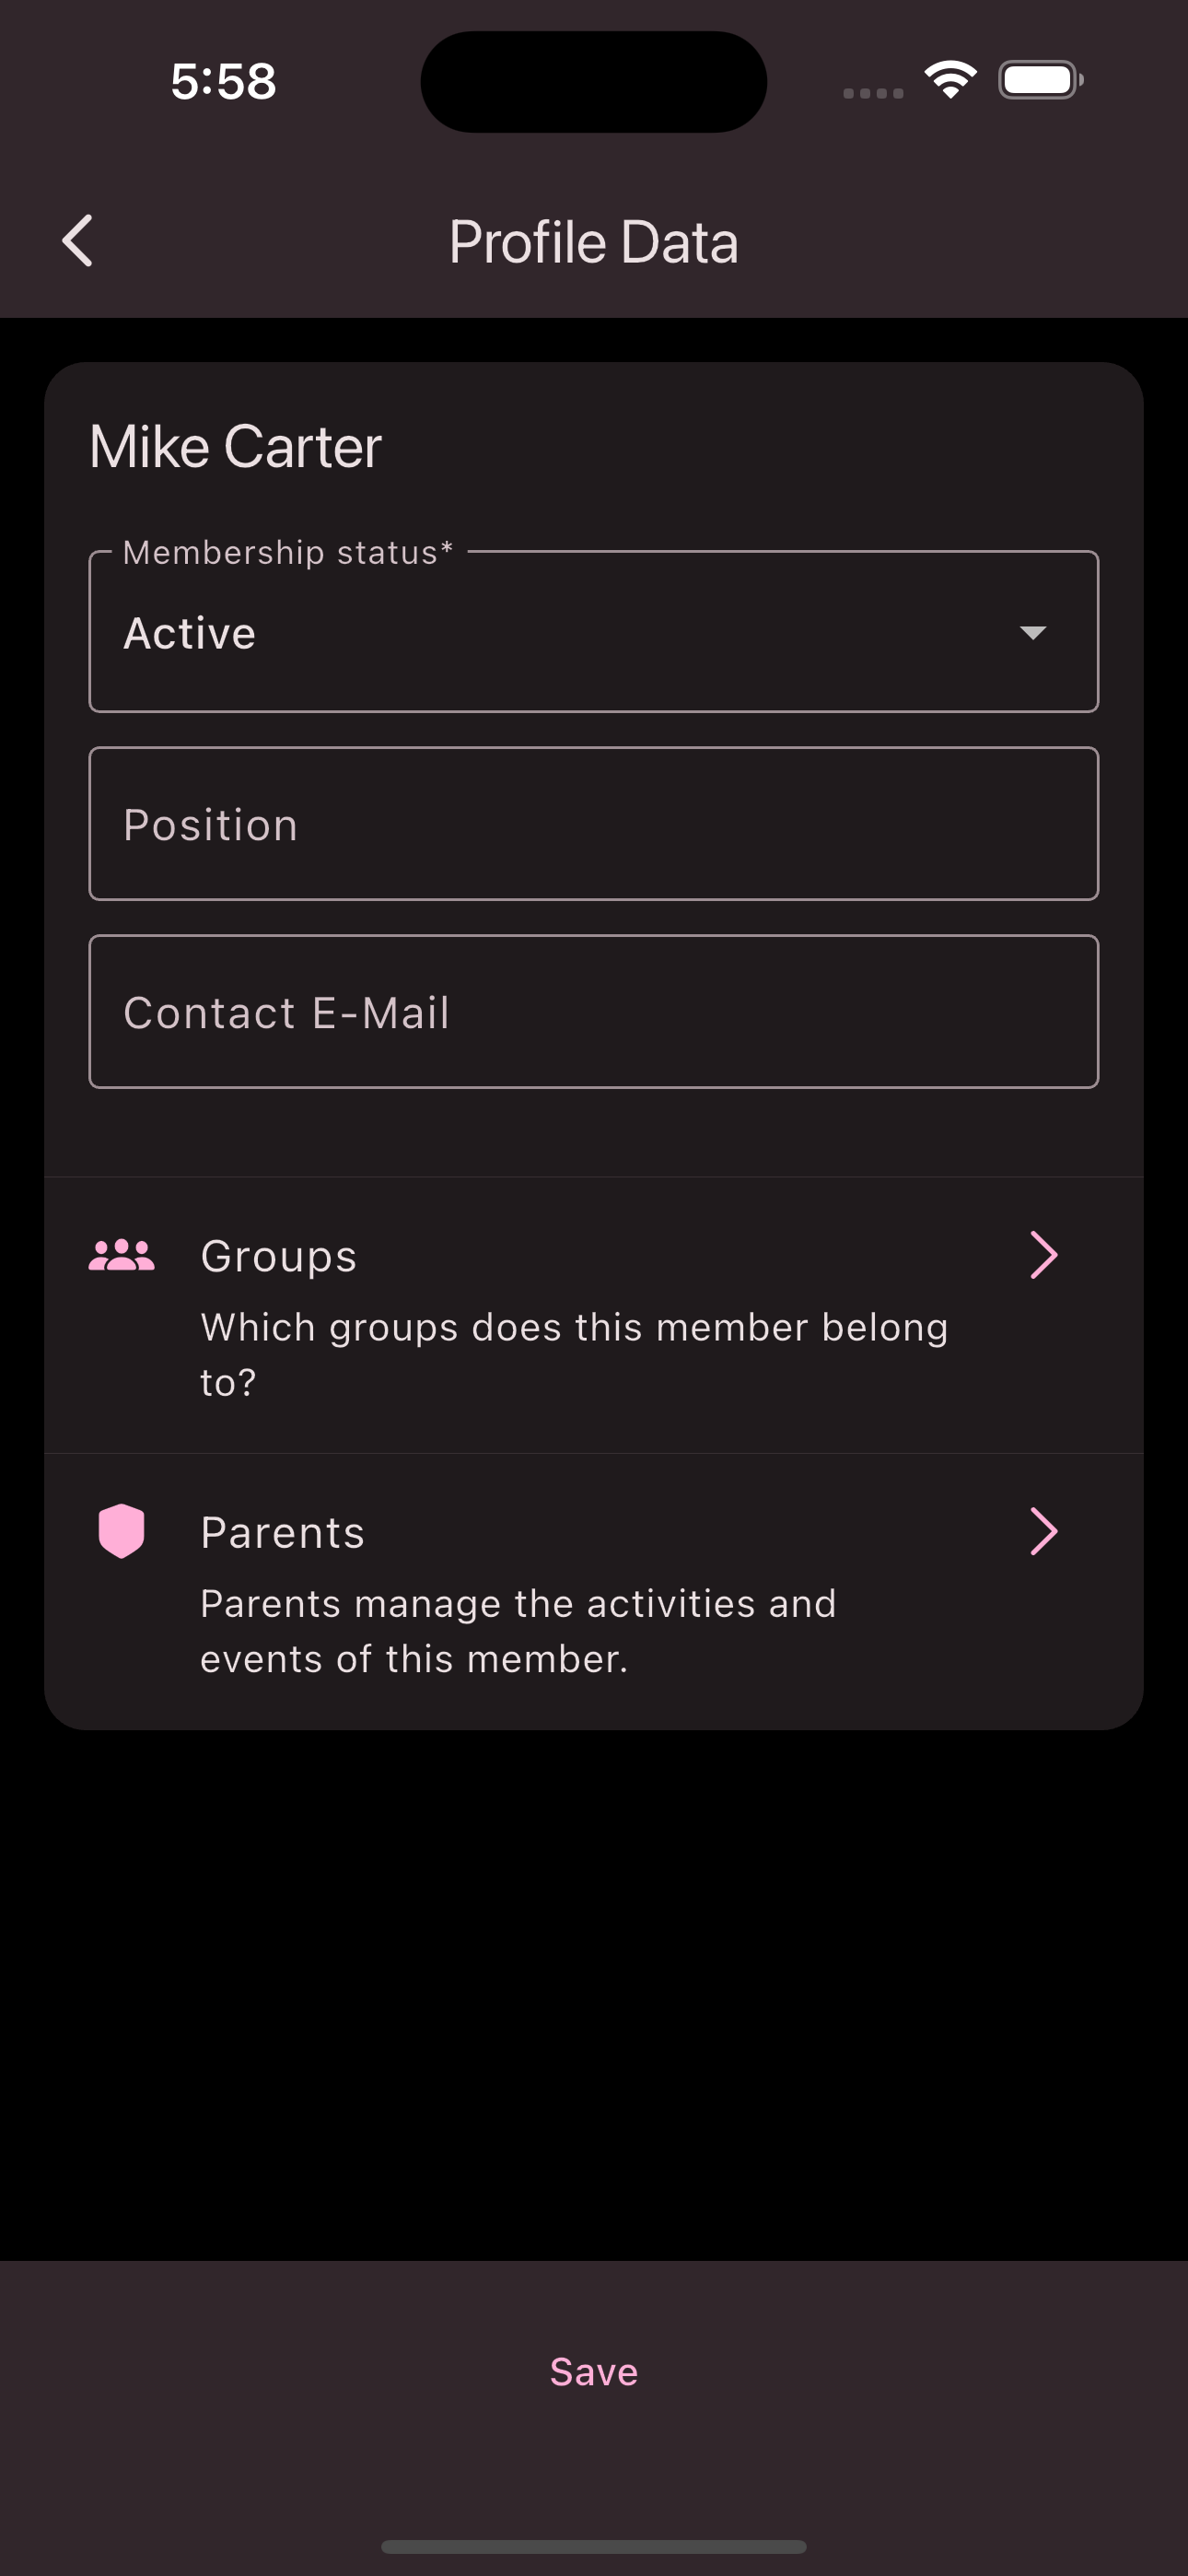
button.In the next screen, you can enter additional information about the member. Under the section, you can assign the member to a group.
Tap
Save
to create the member.
Congratulations! You have successfully created a managed member.
Create trainings
To ensure that participants do not see empty calendars, some events should be created. Follow the steps to create trainings for the team:
Requirements: To create events, you must have one of the following roles: Admin
, Group Leader
, Organization Manager
, or Event Manager
.
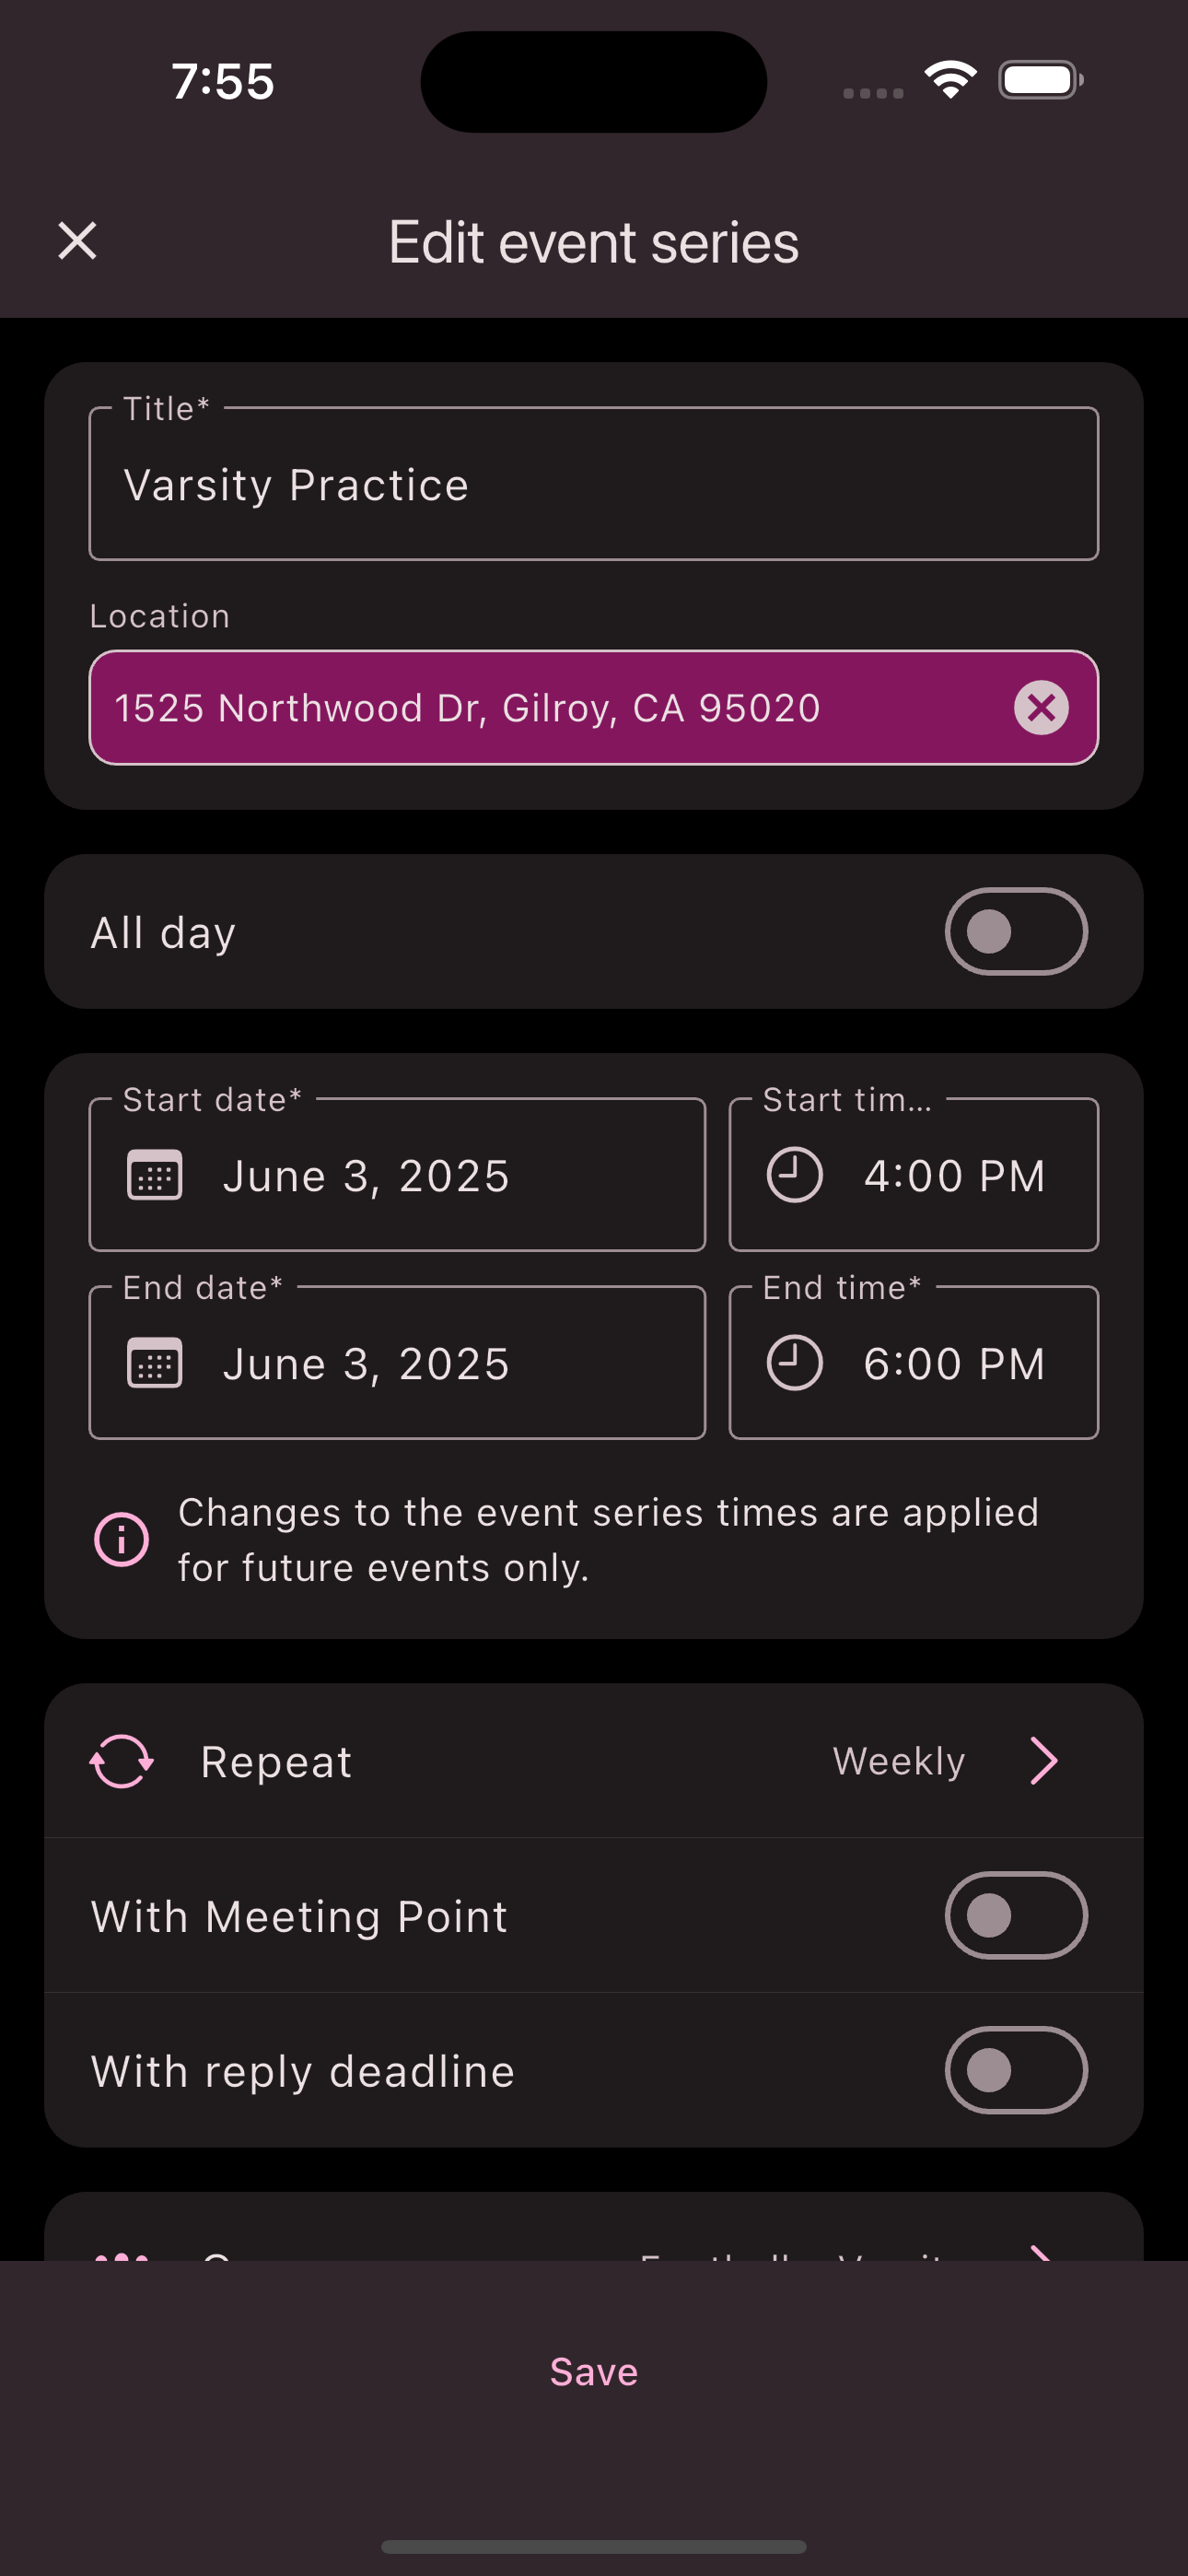
Follow these steps to create an event:
Navigate to the overview of all events via the bottom navigation bar.
Select the desired date in the calendar.
Tap the
Plus button
in the bottom-right corner.Fill in the form and set your desired options. Refer to .
Tap
Save
.
Congratulations! You’ve created an event.
Invite parents
Now the parents of the players can be invited. The parents only have to be assigned to the children so that they automatically see everything that the children see. Follow the steps to invite the parents:
Follow these steps to create an invitation:
Navigate to the member overview using the bottom navigation bar.
Tap the
Invitations
button in the bottom-right corner to open your invitation view.Tap the
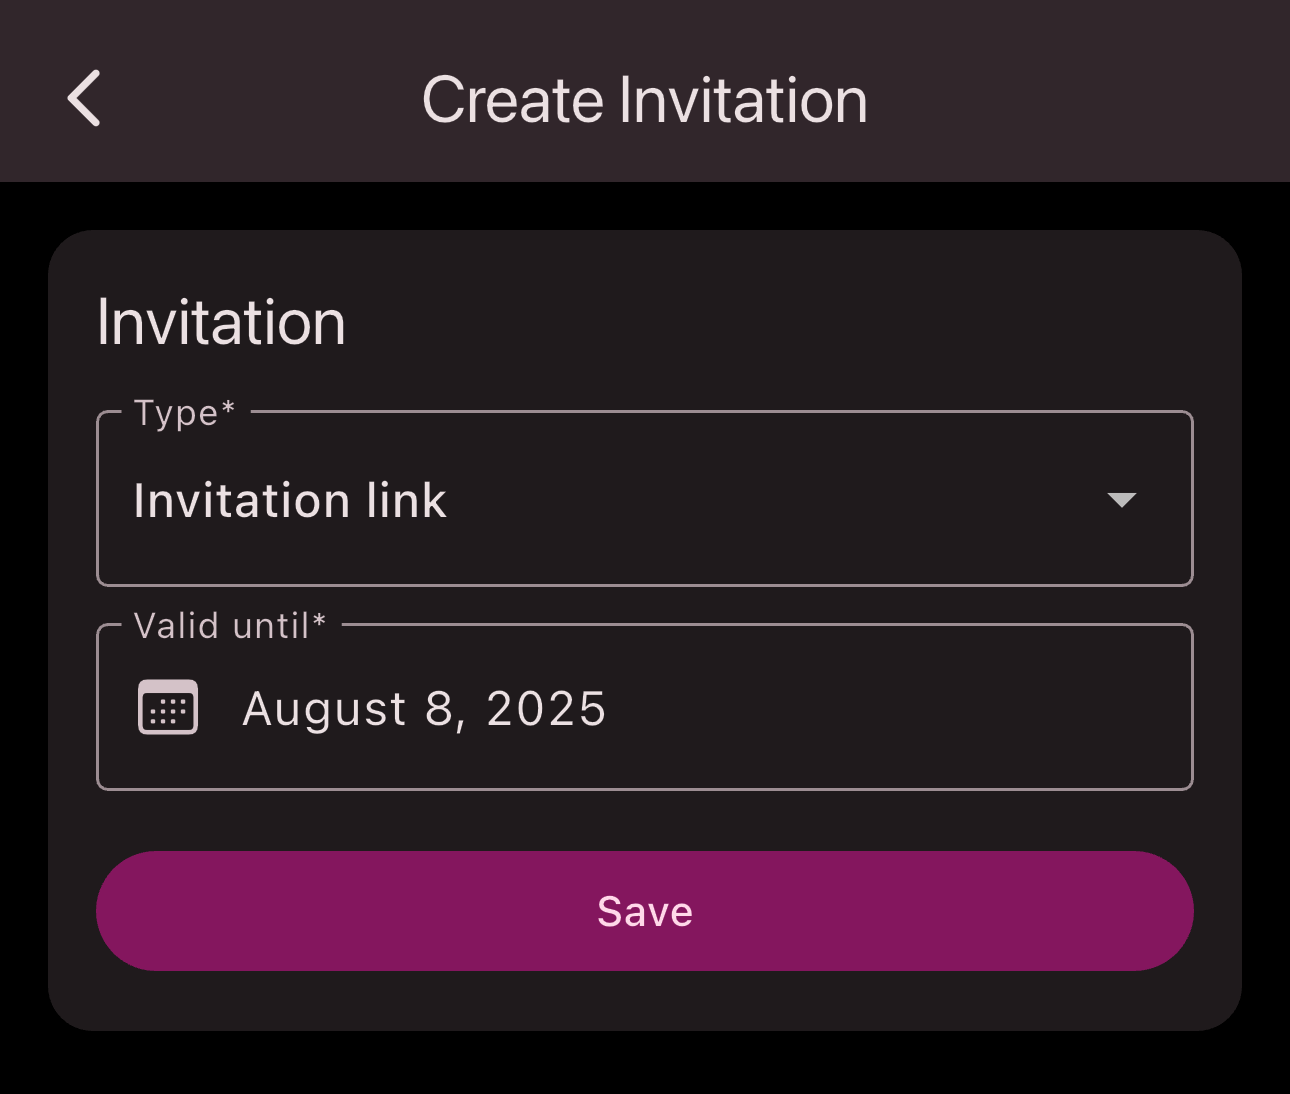
Create Invitation
button.In the input form, you can choose whether to create the invitation as a
Link
or aQR Code
. You can also set theValidity Period
for the invitation.Tap
Save
to create the invitation. You’ll then be returned to your invitation overview.Tap the created invitation to share it with your members.
Congratulations! You now know how to create and share invitations.
Assign parents to children
Follow the steps to assign the parents to the children:
In the bottom navigation bar, you’ll find the Members
tab. If join requests exist, this tab will show a counter with the number of pending requests. These steps add the parent to the club and link them to children. This way, parents can see all of their children’s events and chats.
Navigate to the member overview using the bottom navigation bar.
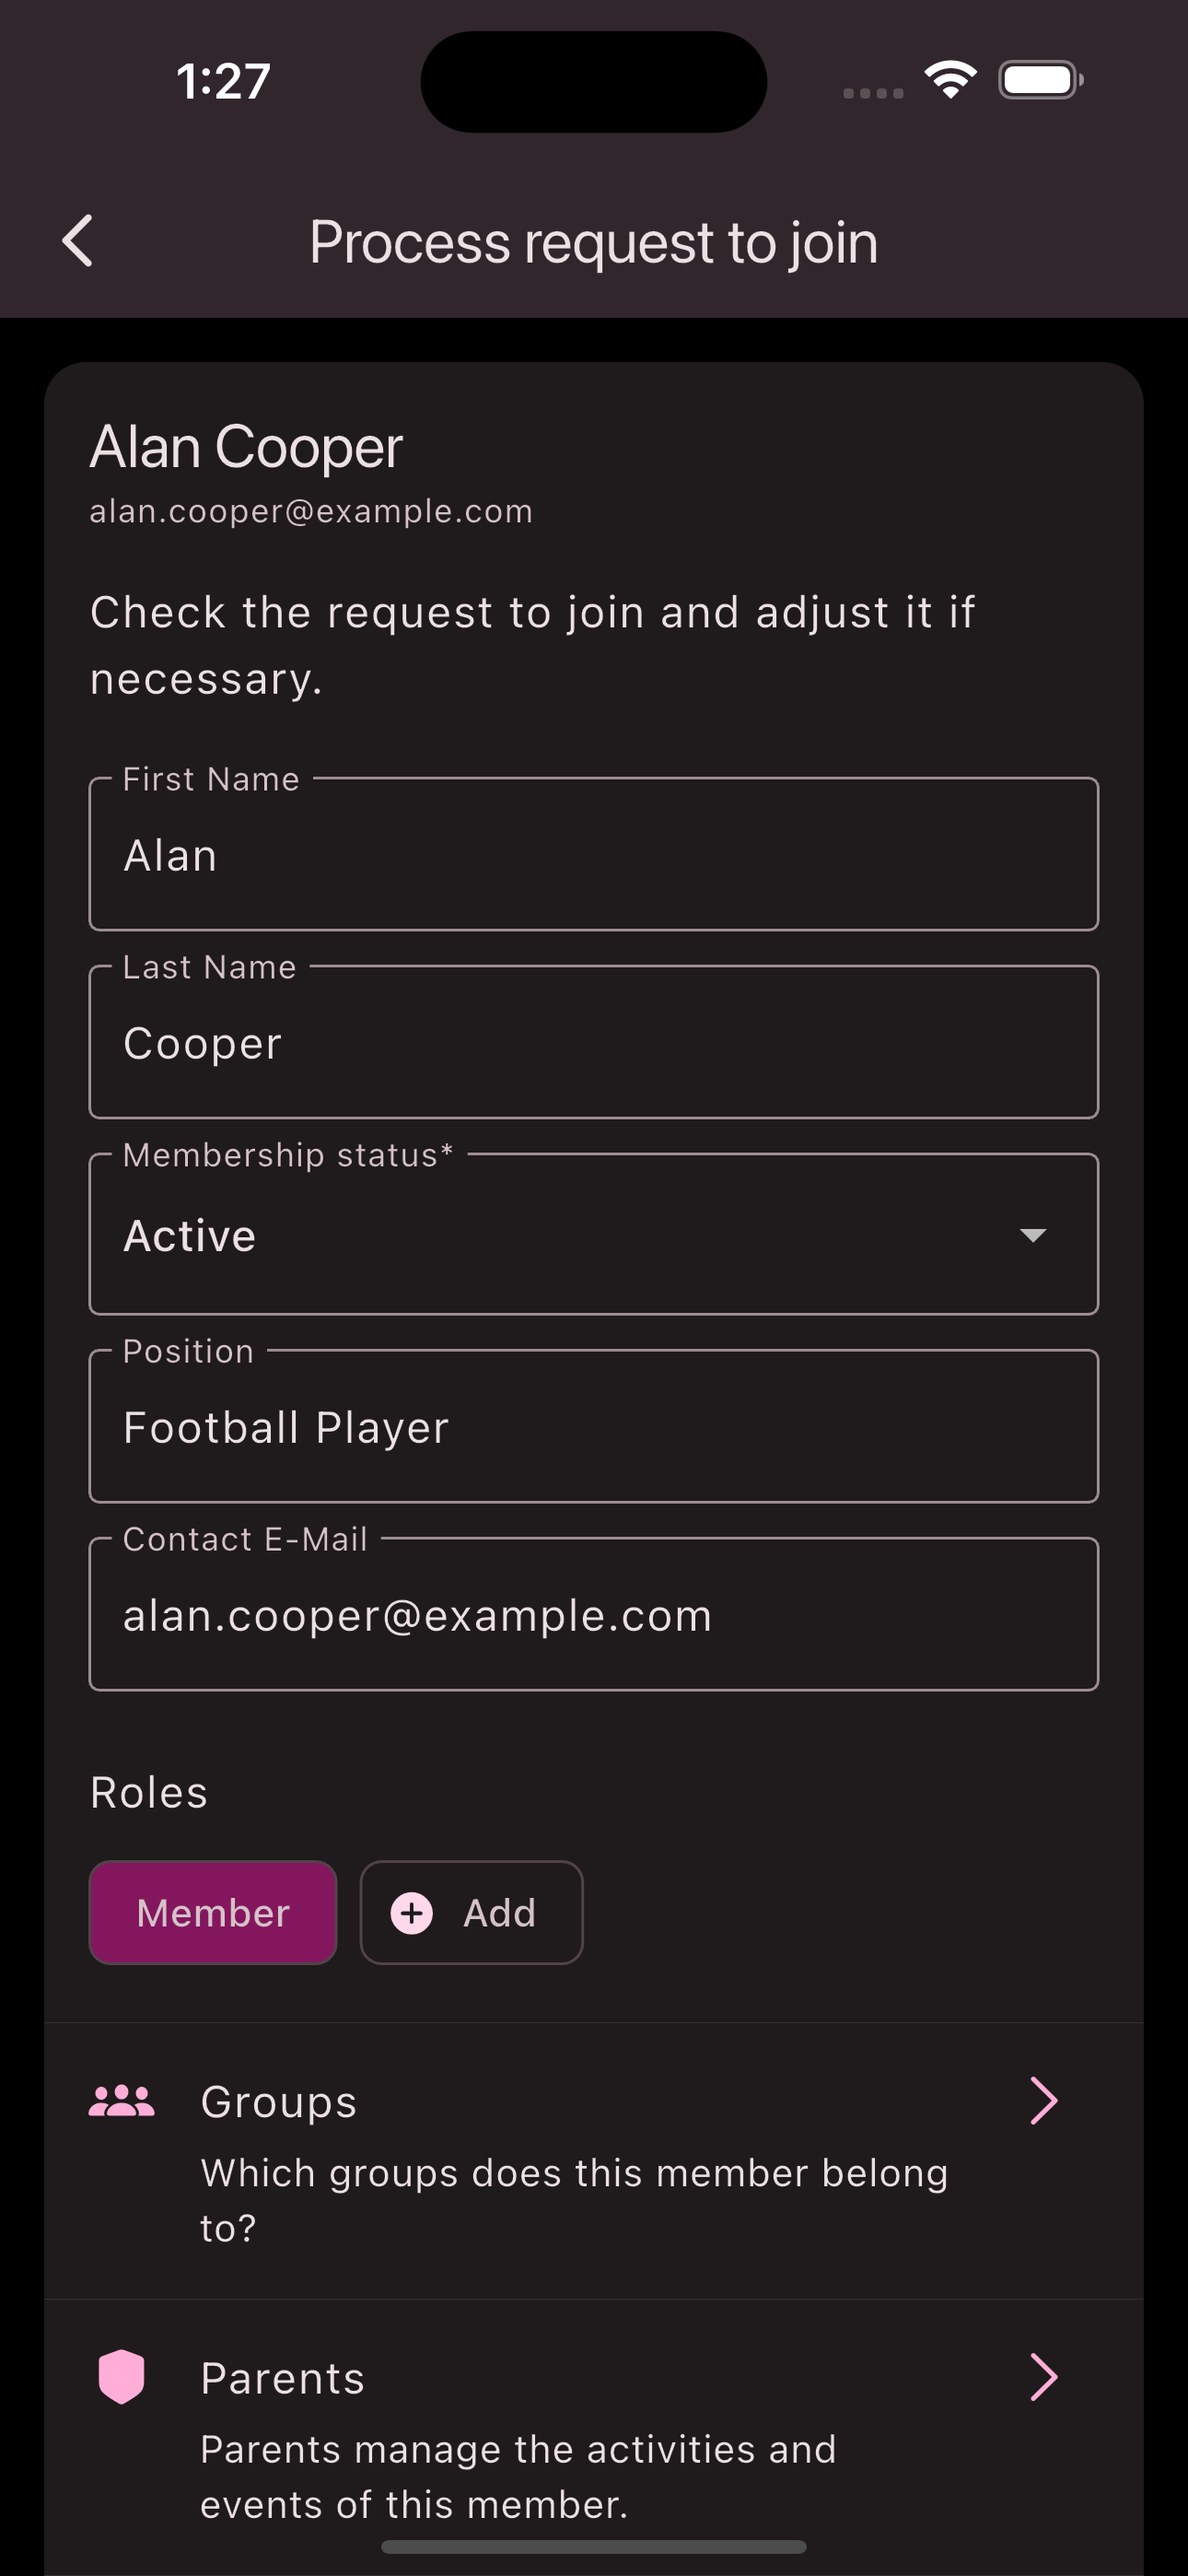
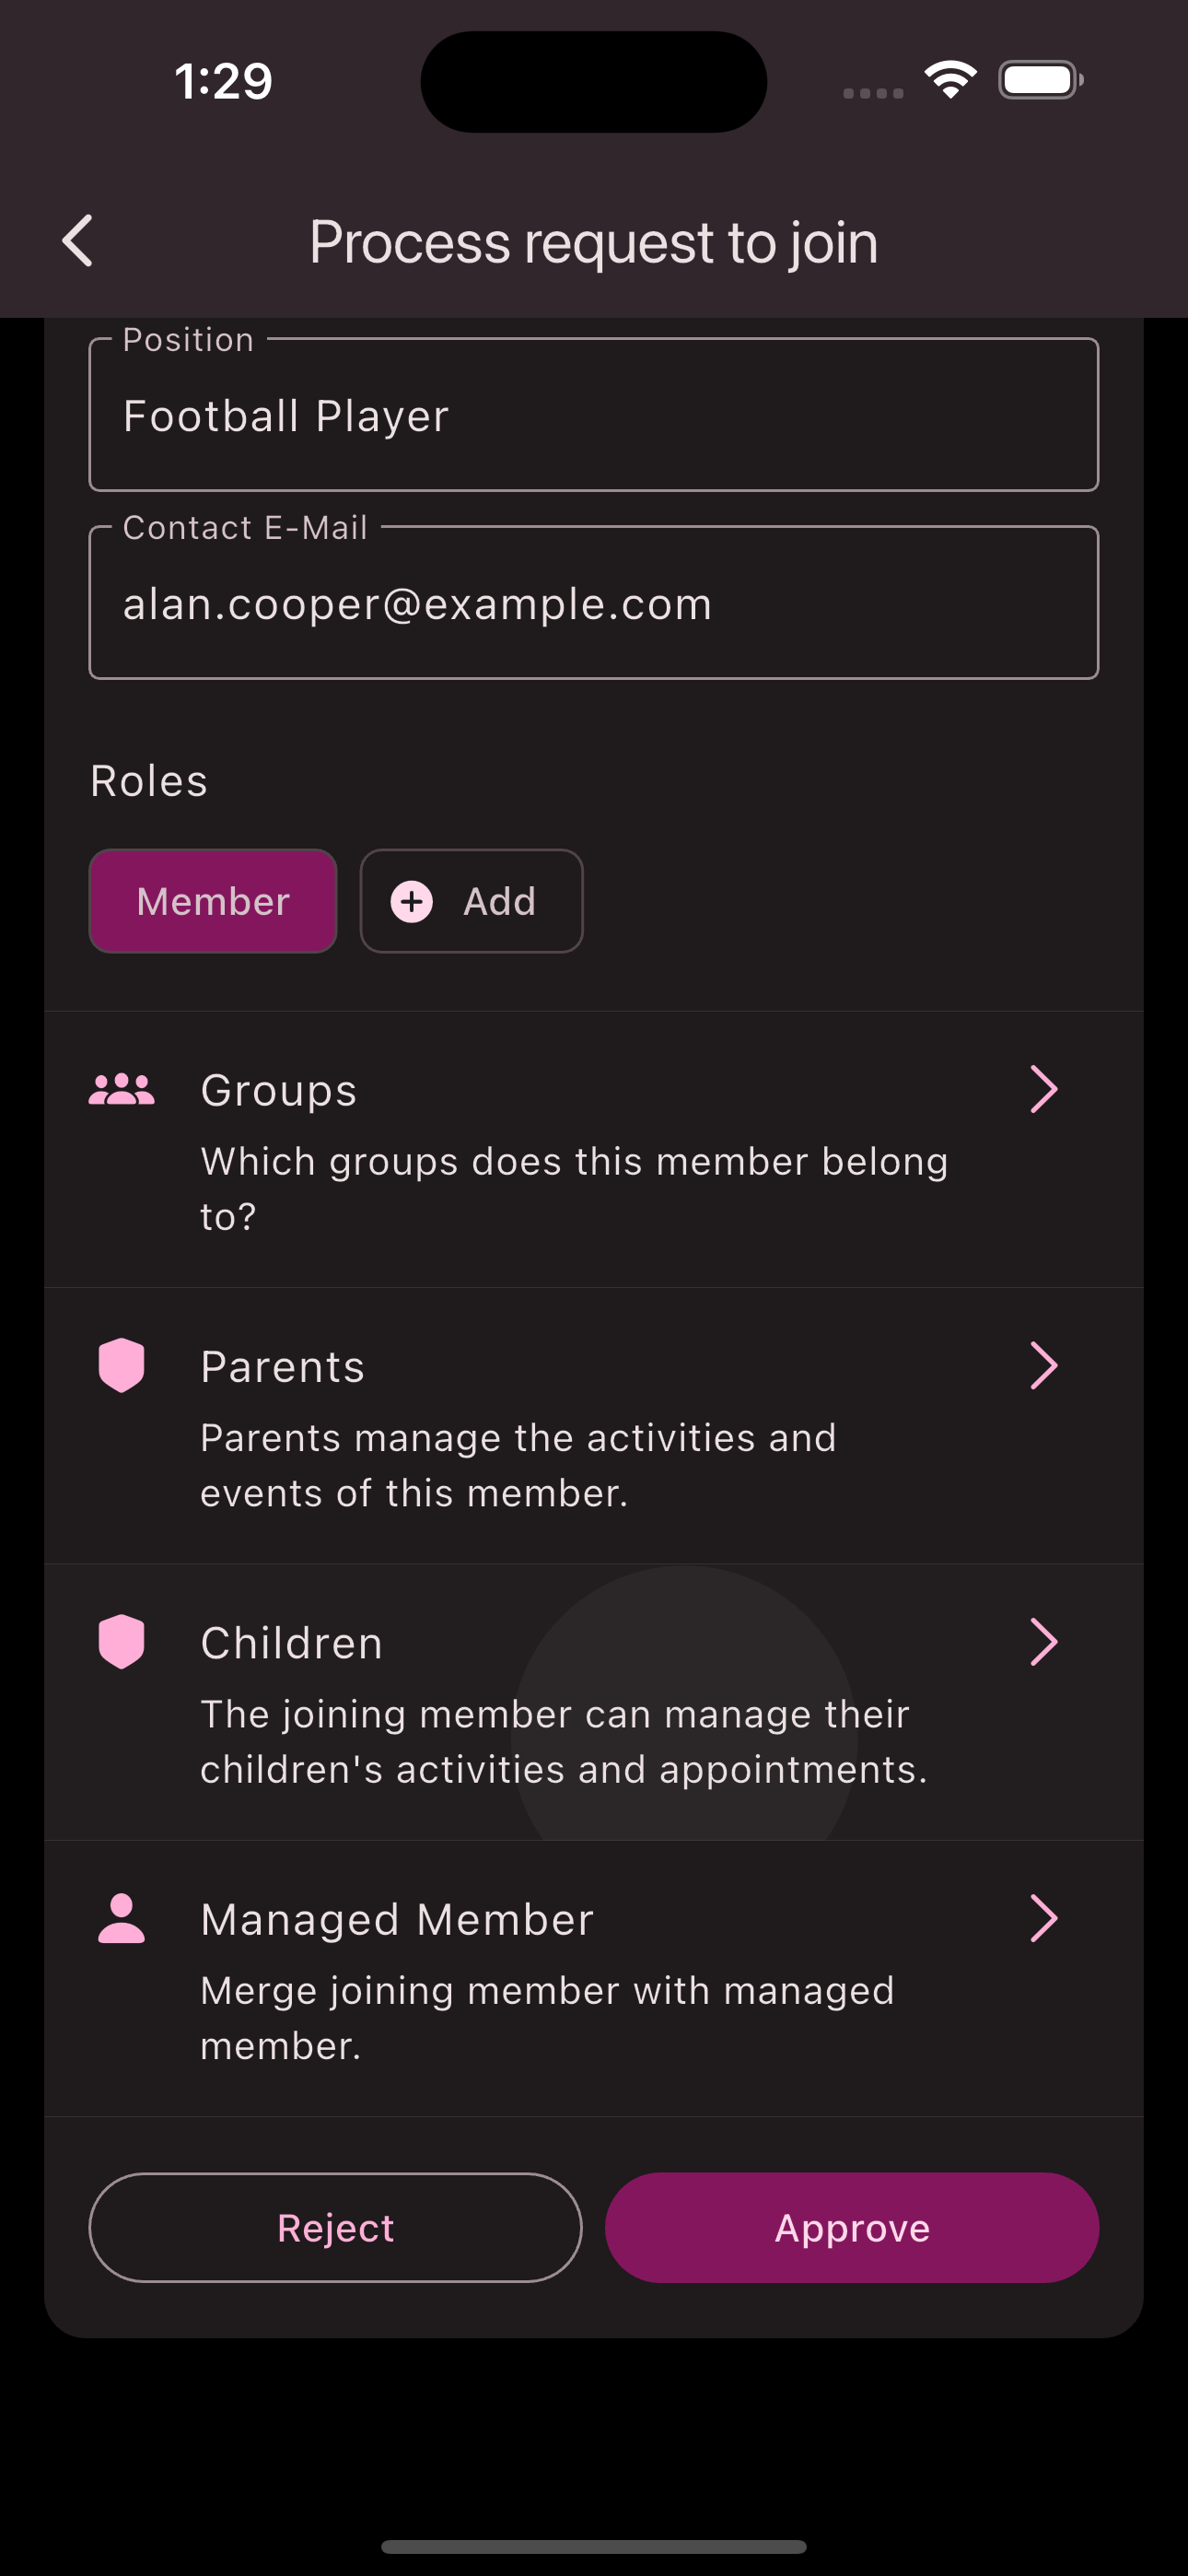
Tap the request you want to process.
Review the member’s club profile and adjust it if needed.
Assign roles if needed.
Tap on Children and select one or more children.
Tap
Accept
to add the requesting parent as a member of the club.
Congratulations! You have successfully processed the join request from a parent.
Optional: Assign children with their own phone to the player
In the event that a created profile of a player also has a phone and wants to participate in the app themselves, this is also possible. Follow the steps to assign a player profile to a member:
These steps allow children to be linked to an existing managed profile. This ensures children who already have a managed profile and want to use the app are assigned correctly.
In the bottom navigation bar, you’ll find the Members
tab. If join requests exist, this tab will show a counter with the number of pending requests.
Navigate to the member overview using the bottom navigation bar.
Tap the request you want to process.
Review the member’s club profile and adjust it if needed.
Assign roles if needed.
Tap on Managed Profile and select an existing profile to assign.
Tap
Accept
to add the requesting child as a member of the club.
Congratulations! You have successfully processed the join request from a child.